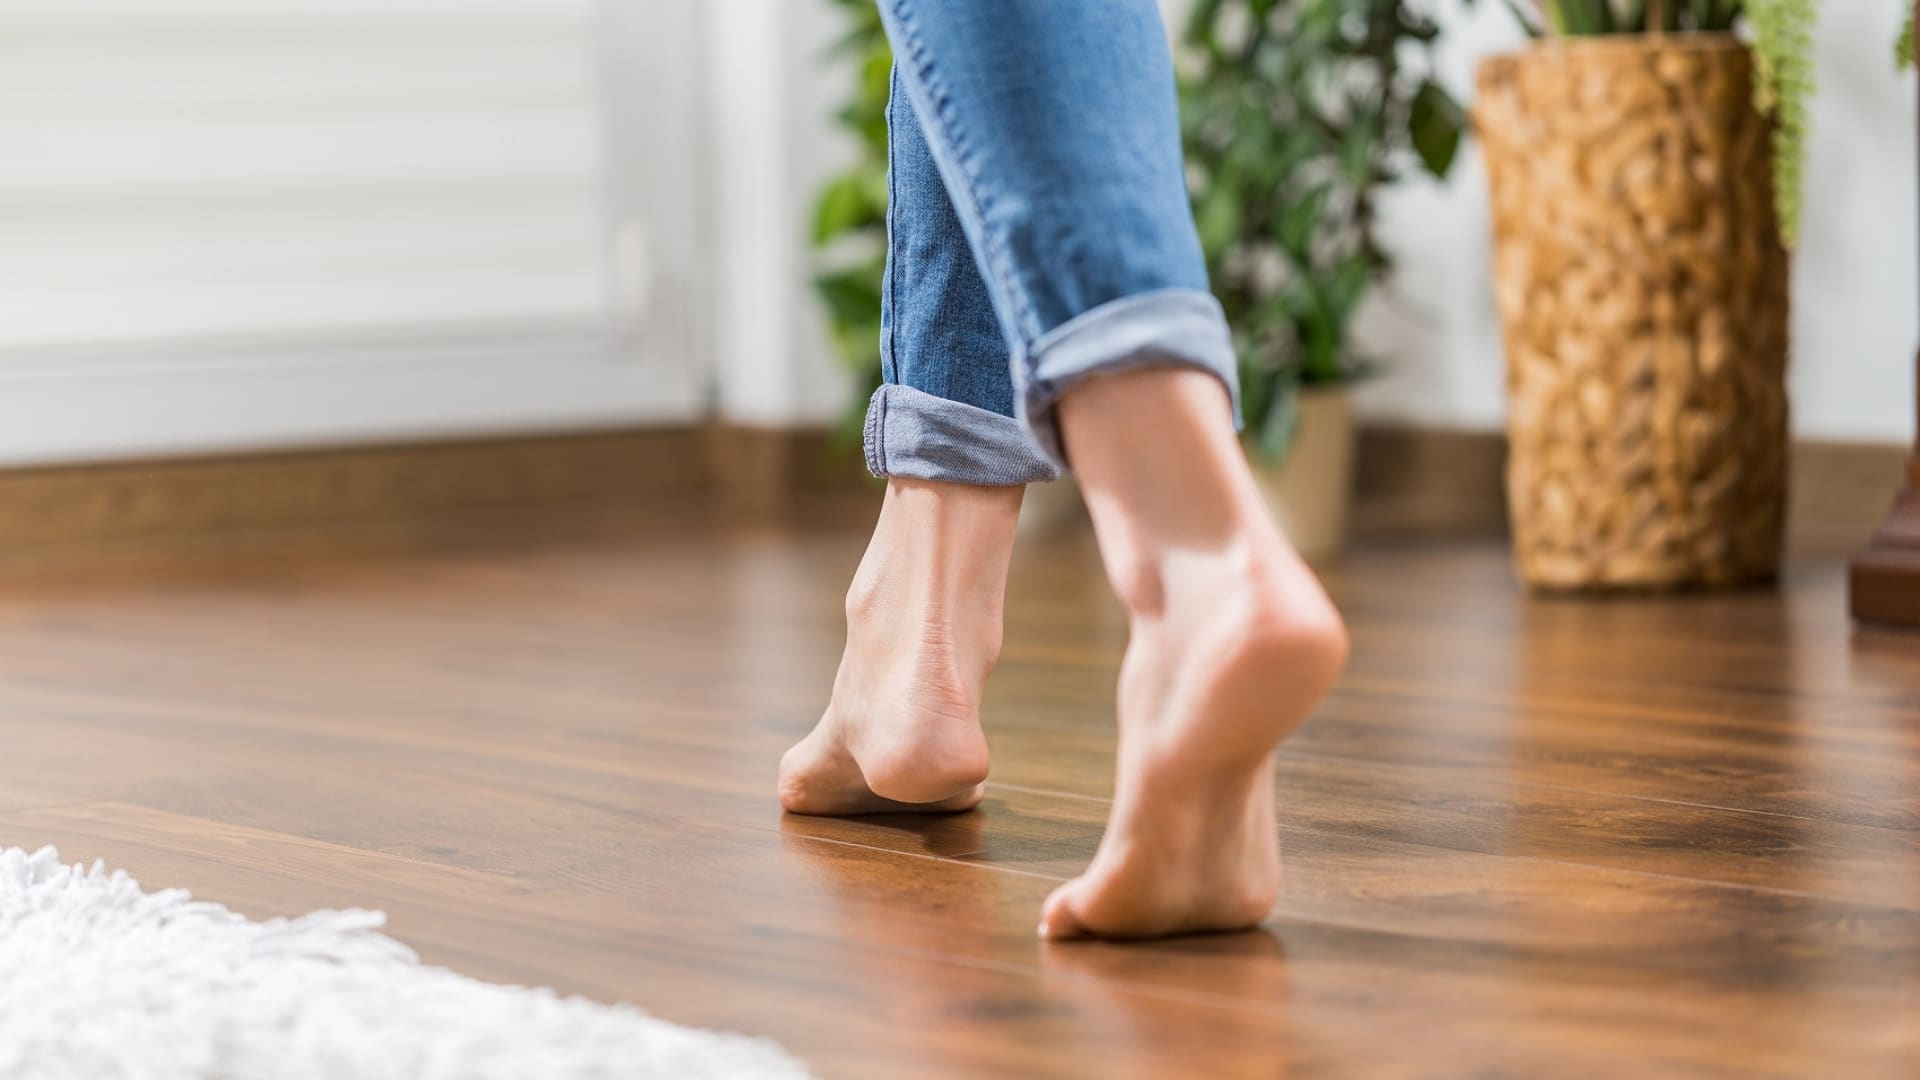
Are Timber Floors a Good Choice with Pets?
Timber floors can be a good choice with pets, but there are certain considerations to keep in mind before making a decision. Here are some pros and cons to consider when it comes to having timber floors in a home with pets:
**Pros:**
1. **Durability:** High-quality hardwood timber floors can be quite durable and resistant to scratches and dents. Some wood species are harder than others and can better withstand the wear and tear that comes with pet activities.
2. **Easy to Clean:** Timber floors are relatively easy to clean, and pet hair and dander can be easily swept or vacuumed. Accidents can also be cleaned up more easily than on carpets.
3. **Hypoallergenic:** Timber floors are hypoallergenic compared to carpets, which can trap allergens and pet dander. This can be beneficial for both your pet’s health and your own.
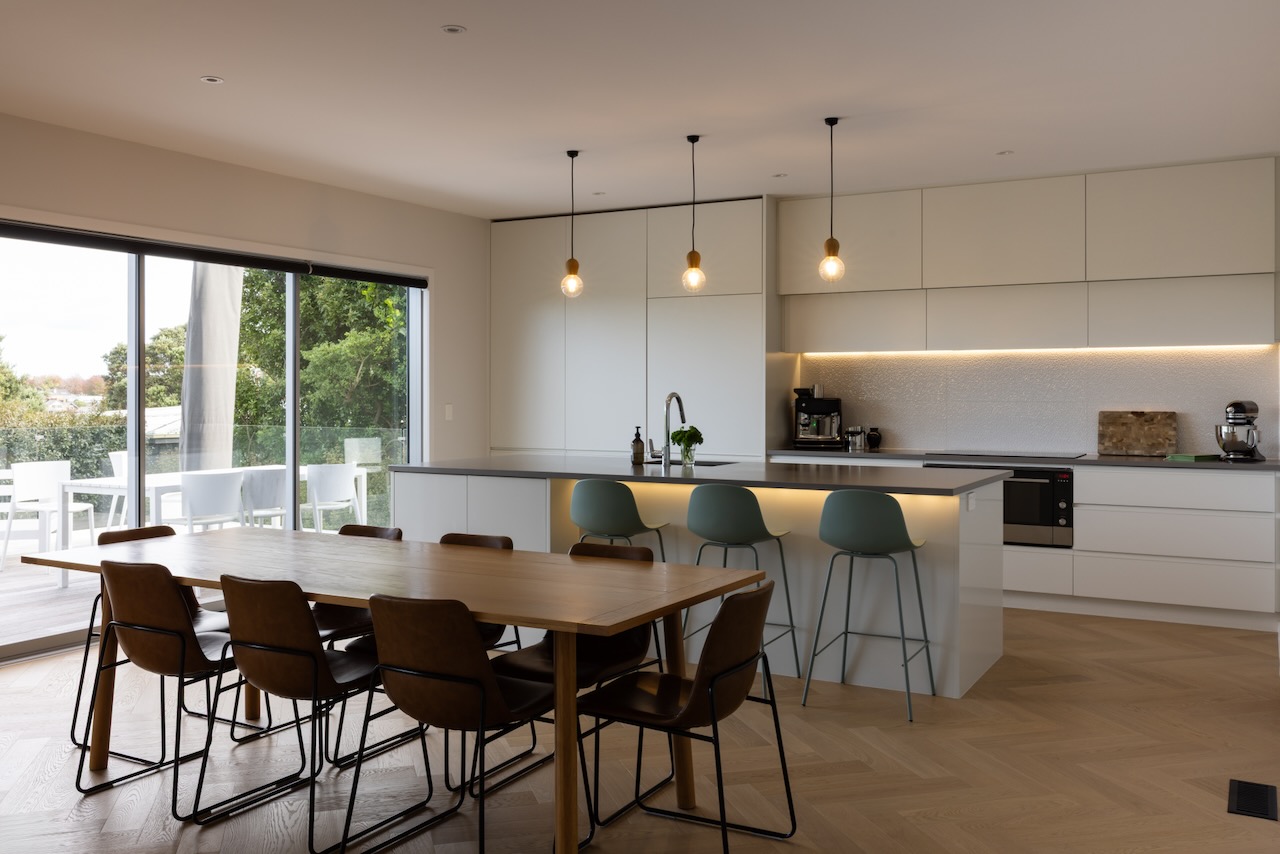
4. **Aesthetic Appeal:** Timber floors can add a warm and timeless aesthetic to your home, potentially increasing its value.
**Cons:**
1. **Scratches:** While hardwood floors can be durable, they can still get scratched by pets’ claws, especially if the wood is softer. Regular trimming of your pet’s nails can help mitigate this issue.
2. **Slippery Surface:** Some pets, especially those with little traction on their paws, may find timber floors to be slippery, leading to potential accidents or difficulty in getting around.
3. **Moisture and Stains:** Timber floors are sensitive to moisture, and pet accidents or spills can lead to staining or warping if not cleaned up promptly. Proper sealing and maintenance are crucial.
4. **Noise:** Pets walking on timber floors can generate more noise compared to carpeted floors, which might be a concern in multi-story homes or apartments.
5. **Maintenance:** Timber floors require regular maintenance, including periodic refinishing to maintain their appearance and protect them from wear and tear.
**Tips for Choosing Timber Floors with Pets:**
1. **Choose Harder Wood Species:** Opt for hardwood species that are known for their hardness and durability, such as oak, maple, or hickory.
2. **Consider Finishes:** Choose a finish that offers good scratch resistance and durability, such as a matte or satin finish.
3. **Use Rugs and Mats:** Place area rugs or mats in high-traffic areas and under your pet’s food and water bowls to provide extra protection for the floor and better traction for your pet.
4. **Keep Nails Trimmed:** Regularly trim your pet’s nails to help prevent scratches on the timber floor.
5. **Wipe Up Accidents Quickly:** Accidents should be cleaned up promptly to prevent staining and warping of the wood.
Timber floors can work well with pets, but it’s important to choose the right type of wood, finishes, and maintenance routines to ensure they remain in good condition. If you’re concerned about potential issues, you could also explore other flooring options like laminate or tile, which can mimic the appearance of timber while offering different benefits.