What is E3/AS1 and How Does it Impact Your Timber Flooring Project?

When planning a timber flooring project, understanding the building codes and standards, such as E3/AS1, is crucial for ensuring compliance and quality. This article delves into the intricacies of E3/AS1, a part of the New Zealand Building Code (NZBC), and how it applies to your timber flooring project. We’ll explore the importance of compliance with these standards, focusing specifically on the relevance of the ISO4760 test for joint permeability in timber floors.

What is E3/AS1?

E3/AS1 is a section of the NZBC that sets the requirements for building elements to protect against moisture. It is essential for architects, interior designers, architectural builders, and homeowners to understand these requirements to ensure the durability and safety of their flooring installations.

The Importance of Compliance with E3/AS1 in Timber Flooring

Compliance with E3/AS1 is not just a legal requirement but also a matter of quality assurance. Timber flooring, particularly engineered oak, which is a specialty of Vienna Woods, must meet certain standards to ensure it withstands moisture and environmental changes over time. Compliance ensures longevity, safety, and a high standard of living.

The Role of ISO4760 in Timber Flooring

The ISO4760 test is a key component in assessing the quality of timber flooring. This test measures the joint permeability of flooring, which is crucial in determining its resistance to moisture and humidity – a critical factor in New Zealand’s varied climate. High joint permeability can lead to moisture seeping through, causing damage over time. Therefore, understanding the results of this test is crucial in selecting the right flooring material.

How ISO4760 Test Substantiates Compliance for Timber Floors According to E3/AS1

The ISO4760 test results can be used to demonstrate compliance with E3/AS1. By showing that the timber flooring has low joint permeability, it assures that the product is resistant to moisture ingress, aligning with the NZBC’s requirements. This is particularly important in areas prone to dampness or in buildings where moisture control is a critical aspect of the design.

Choosing the Right Timber Flooring Compliant with E3/AS1

At Vienna Woods, we specialize in high-quality engineered oak flooring sourced from Europe, meeting the high standards set by the NZBC. Our products are tested and proven to comply with E3/AS1, ensuring that they are not only aesthetically pleasing but also durable and safe.


Understanding E3/AS1 and ensuring compliance through tests like the ISO4760 is essential for any timber flooring project in New Zealand. By choosing Vienna Woods, you are selecting a partner that values quality, compliance, and the longevity of your investment. Our commitment to meeting these standards reflects our dedication to being the first choice in quality timber flooring in New Zealand.

For more information and expert guidance on selecting the right timber flooring for your project, visit Vienna Woods.


References

  • New Zealand Building Code (NZBC), E3/AS1
  • Ministry of Business, Innovation and Employment (MBIE) Guidelines
  • ISO4760 Test Standards

Understanding and Remedying Cupping in Timber Floors

A Guide for Architects, Interior Designers, and Homeowners

At Vienna Woods, we understand the elegance and durability that timber flooring brings to any space. As experts in providing high-quality engineered oak flooring, we are committed to not only offering the best products but also ensuring their longevity and beauty in your projects and homes. One common issue that needs addressing in timber flooring is ‘cupping’ – a phenomenon that can affect both solid and engineered floors. This article is crafted to help our architects, interior designers, architectural builders, and homeowners understand cupping, its causes, and effective remedies.


What is Cupping in Timber Flooring?

Cupping occurs when the edges of a timber floorboard rise higher than its center, creating a concave shape. This is commonly observed in both solid wood and engineered wood floors. Cupping is often a response to moisture imbalance within the flooring material – a higher moisture content on the bottom surface compared to the top.


Causes of Cupping

  1. Moisture Imbalance: The primary cause of cupping is a difference in moisture levels between the top and bottom of the flooring. This can be due to environmental humidity, spills, or moisture from the subfloor.

  2. Inconsistent Manufactured Moisture Content: Engineered floors are manufactured at specific moisture levels. If these levels are not consistent across the layers of the board, cupping can occur after installation.

  3. Subfloor Conditions: Moist subfloors, especially under bamboo or engineered floors, can transfer moisture to the flooring, leading to cupping.

  4. Environmental Factors: Factors such as sun exposure, heating, and air-conditioning can impact the moisture balance in timber flooring.


Remedies for Cupping

  1. Preventative Measures: The best remedy is prevention. Ensure a continuous plastic damp proof layer is installed between the engineered wood flooring and the subfloor. This helps prevent moisture-related cupping.

  2. Re-sanding and Refinishing: In milder cases, re-sanding the affected floor can even out the surface. However, ensure the moisture content of the floor is stable before sanding.

  3. Floor Replacement: In cases where cupping is extensive and other methods are ineffective, replacing the flooring may be necessary.

  4. Environmental Control: Implementing measures like window treatments and mats can help control the factors contributing to cupping.

  5. Subfloor Assessment: Addressing any issues with the subfloor, including moisture and stability, is crucial in preventing and remedying cupping.


Why This Matters to You

For architects and designers, understanding these issues ensures that your designs maintain their integrity over time. For builders, this knowledge helps in delivering durable and high-quality flooring to your clients. And for homeowners, being informed means you can better care for and maintain the beauty of your timber floors.

At Vienna Woods, we believe in empowering our clients with knowledge. Understanding issues like cupboarding enables you to make informed decisions about your flooring, ensuring lasting beauty and durability. For more information or to explore our range of high-quality timber flooring, visit us at www.viennawoods.co.nz.

How to Deal with Scratches and Dents in Timber Flooring

Timber flooring, with its natural beauty and durability, is a popular choice for many homes and businesses. However, it’s not immune to scratches and dents, which can mar its appearance. Understanding how to effectively deal with these imperfections is crucial for maintaining the aesthetic and longevity of the flooring.


Understanding the Type of Timber Flooring

Before addressing the repairs, it’s essential to identify the type of timber flooring you have, as the repair process can vary significantly. The two main types are oiled and lacquered floors.

  • Oiled Floors: These floors have an oil finish that penetrates the wood, offering a natural look. They’re easier to repair at a small scale because the oil can be reapplied locally.
  • Lacquered Floors: These have a protective coating that sits on top of the wood, creating a glossy and hard finish. While they’re more resistant to damage, repairs often require refinishing a larger area to blend in seamlessly.

Dealing with Scratches

For superficial scratches, a simple DIY solution can often be effective. You can use a wood marker or wax crayon that matches the floor’s color to fill in the scratches.

For small scratches in oiled floors, treating scratches can be as simples as applying a small amount of maintenance oil with a clean cloth, then buffing until dry.

For deeper scratches, especially in oiled floors, sanding the affected area and reapplying oil may be necessary.

Lacquered floors with deep scratches might require the damaged plank to be sanded down and then refinished with lacquer. It’s crucial to ensure the new lacquer matches the rest of the floor.


Fixing Dents

Dents are trickier as they represent actual damage to the wood. For minor dents in oiled floors, steaming the area can raise the grain, but this should be done by a professional, as steaming a timber floor can damage the protective finish.

In lacquered floors, larger dents usually necessitate the replacement of the affected plank. This process can be complex and might require professional help, especially to ensure the new plank matches the existing floor in terms of colour and finish.

Smaller dents can be treated with wax repair.


Professional Help and Maintenance

For significant damage, seeking professional help is advisable. Professionals can assess the extent of the damage and suggest the best course of action, whether it’s repair or replacement.

Regular maintenance can prevent scratches and dents. Use furniture pads, regularly sweep or vacuum the floor, and immediately clean up spills. Placing rugs in high-traffic areas can also be beneficial.  If the floor has an oil finish, then regular maintenance can ensure longevity.


Online Resources

For more detailed guidance, you can refer to the following online resources:

  1. Oiled Floor Care Guide
  2. Lacquered Floor Care Guide 

Maintaining timber flooring requires knowledge of the type of flooring and appropriate repair techniques. Regular maintenance, coupled with timely repairs, can ensure the longevity and beauty of your timber floors. For extensive damage, professional services are recommended.

What is Engineered Timber Flooring?

At Vienna Woods we often find that there are some misunderstandings about what is commonly called Engineered Flooring.  In the following article we will outline exactly what engineered flooring is and clear up any misconceptions.

The concept of engineered timber has been around for some time.  It wasn’t until the early 20th century when engineered timber began to be used for flooring.  See our article on The History of Engineered Flooring for more information.

Engineered flooring is term used to describe a flooring board comprising of layers of timber glued together to form a robust “engineered” plank.  The top layer is usually a species of hard wood.

Fusing the layers together in this way is also called laminating.  builders frequently work with laminated timber for everything from various ply wood application through to ceiling beams.  Laminated timbers are often used for their added spanning properties (think thick laminated beams) and also their structure stability (think of sheets of plywood).  However, some confusion  exists when using the term “laminated” with flooring.  There is a category of flooring named “laminated” which refers to a synthetic top layer laminated to a high density fibreboard backing.  Engineered timber flooring is technically laminated, but it does not fall under the category of laminated flooring.  Even builders (who commonly use and discuss laminated products) will sometimes refer to engineered timber flooring as “laminated”.

The Key Features of Engineered Timber Flooring:

  1. Layers: The typical engineered timber floor plank is made up of three or more layers. These layers are laid at right angles to each other to improve strength and resilience.
  2. Top Layer (Wear Layer): The topmost layer is a veneer of the desired hardwood. This could be oak, maple, or any other type of wood. This layer provides the look and feel of solid hardwood flooring. The thickness of this layer can vary, but it’s generally between 2mm to 6mm. This layer can be sanded and refinished, depending on its thickness.
  3. Core Layers: Beneath the top layer are several core layers, usually made from plywood, hardwood, or high-density fiberboard. These layers provide stability, reducing the wood’s natural tendency to expand and contract with changes in humidity and temperature. This makes engineered wood flooring more suitable for areas with varying climate conditions or for installation over underfloor heating systems.
  4. Bottom Layer: The bottom layer of engineered wood flooring is usually made from the same material as the core layers. It helps balance the board and prevent warping.

Engineered timber floors include a top layer of hardwood; typically 2.5 to 6mm, and a backing board which will sometimes be multi layered ply and some times solid core.  The backing board is usually made from a fast growing softwood.  The benefits of this construction are;

  • Stability: The cross-layer construction provides high stability compared to solid wood, making it less prone to changes caused by humidity and temperature.
  • Versatility: Engineered wood can be installed over various types of subfloors, including concrete.
  • Sustainability: Since the top layer is a thin veneer, less hardwood is used compared to solid wood flooring. This can be more sustainable if the wood is sourced responsibly.
  • Compatibility with Underfloor Heating: The construction of engineered wood makes it suitable for use with underfloor heating systems.

There are a number of different engineered timber types with connection systems, thicknesses and construction types varying a great deal.  The more common architypes are pictured below;


Engineered wood can last as long as solid hardwood, but its lifespan can be shorter if the top layer is too thin to be refinished.

An additional consideration is variability in quality.  Since engineered timber planks are manufactured, there can be a wide variety in qualities.  Everything from the quality of the manufacturing through to the width and thickness of the flooring and the wear layer.  Because of this variability, it is important to select an appropriate supplier if you are considering engineered flooring for your home.

Engineered timber flooring offers the beauty of hardwood with added stability and versatility, making it a popular choice for various settings, including residential and commercial spaces.


The Technicalities of Timber Flooring Installation

The Technicalities of Timber Flooring Installation: A Comprehensive Guide

The journey to installing timber flooring combines aesthetic elegance with intricate technical details. At Vienna Woods, we’re committed to providing our clients with a thorough understanding of this process. This guide is designed to shed light on the finer points of timber flooring installation, ensuring a smooth transition to beautiful, lasting floors.

Step 1: Precision in Subfloor Preparation A successful timber flooring installation begins beneath the surface. The subfloor must be level, clean, and dry. The moisture content of the subfloor should closely match that of the timber flooring to prevent future issues such as warping or gapping.

Almost every sub floor will require some level of preparation

Step 2: Choosing the Right Timber The selection of timber is a balance of aesthetics and functionality. Factors like hardness (Janka rating), grain patterns, and the wood’s stability are crucial. European engineered oak is chosen for its robustness and adaptability, making it an ideal option for diverse environments.


Step 3: Acclimating the Timber Acclimation is a critical step in the timber flooring installation process. This involves allowing the wood to adjust to the specific humidity and temperature of its new environment. Proper acclimation reduces the risk of post-installation wood movement.

Step 4: The Installation Process The installation phase is where technical skill really comes into play:

Choice of Installation Method: Depending on the subfloor and timber type, we select the most suitable method, whether it be floating, glue-down, or nail-down.

Expansion Gap Consideration: Adequate expansion gaps are essential for natural wood movement, calculated based on the size and environmental conditions of the room as well as the type of flooring.  Solid timber flooring is more susceptible to movement, whereas engineered timber flooring is more structurally sound.

Finishing Touches: Most timber flooring options today are pre-finished, meaning that they have the stain and oil or lacquer applied to the planks prior to being installed.  For floors that are finished on site, there is a process usually including sanding, staining and a coating process of lacquer or oil. 

A typical glue-down install process for engineered timber flooring

Step 5: Post-Installation Care Caring for your timber flooring post-installation is crucial for maintaining its appearance and longevity. You can find guidance for caring for oiled floors here.  Caring for Lacquered floors here.

Installing timber flooring is a meticulous process that adds both beauty and value to your space. To achieve the best results, an appreciation and application of technical expertise is critical.  That combination of creative vision and technical prowess is what can yields amazing results.

Explore our range and learn more about our approach at www.viennawoods.co.nz. Join us in transforming your space with the timeless elegance of timber flooring.

What are Bandsawn Timber Floors?

In the world of interior design, trends come and go, but there’s one element that has stood the test of time – the rustic beauty of bandsaw timber flooring. Bandsaw timber is a remarkable choice for those who seek to infuse their living spaces with character and authenticity. This unique flooring option preserves the old-world charm of timber while enhancing modern interiors with a strong textural element.

Let’s delve into the origins of bandsaw timber and explore how and why it is still used in modern timber flooring.


The Origins of Bandsaw Timber

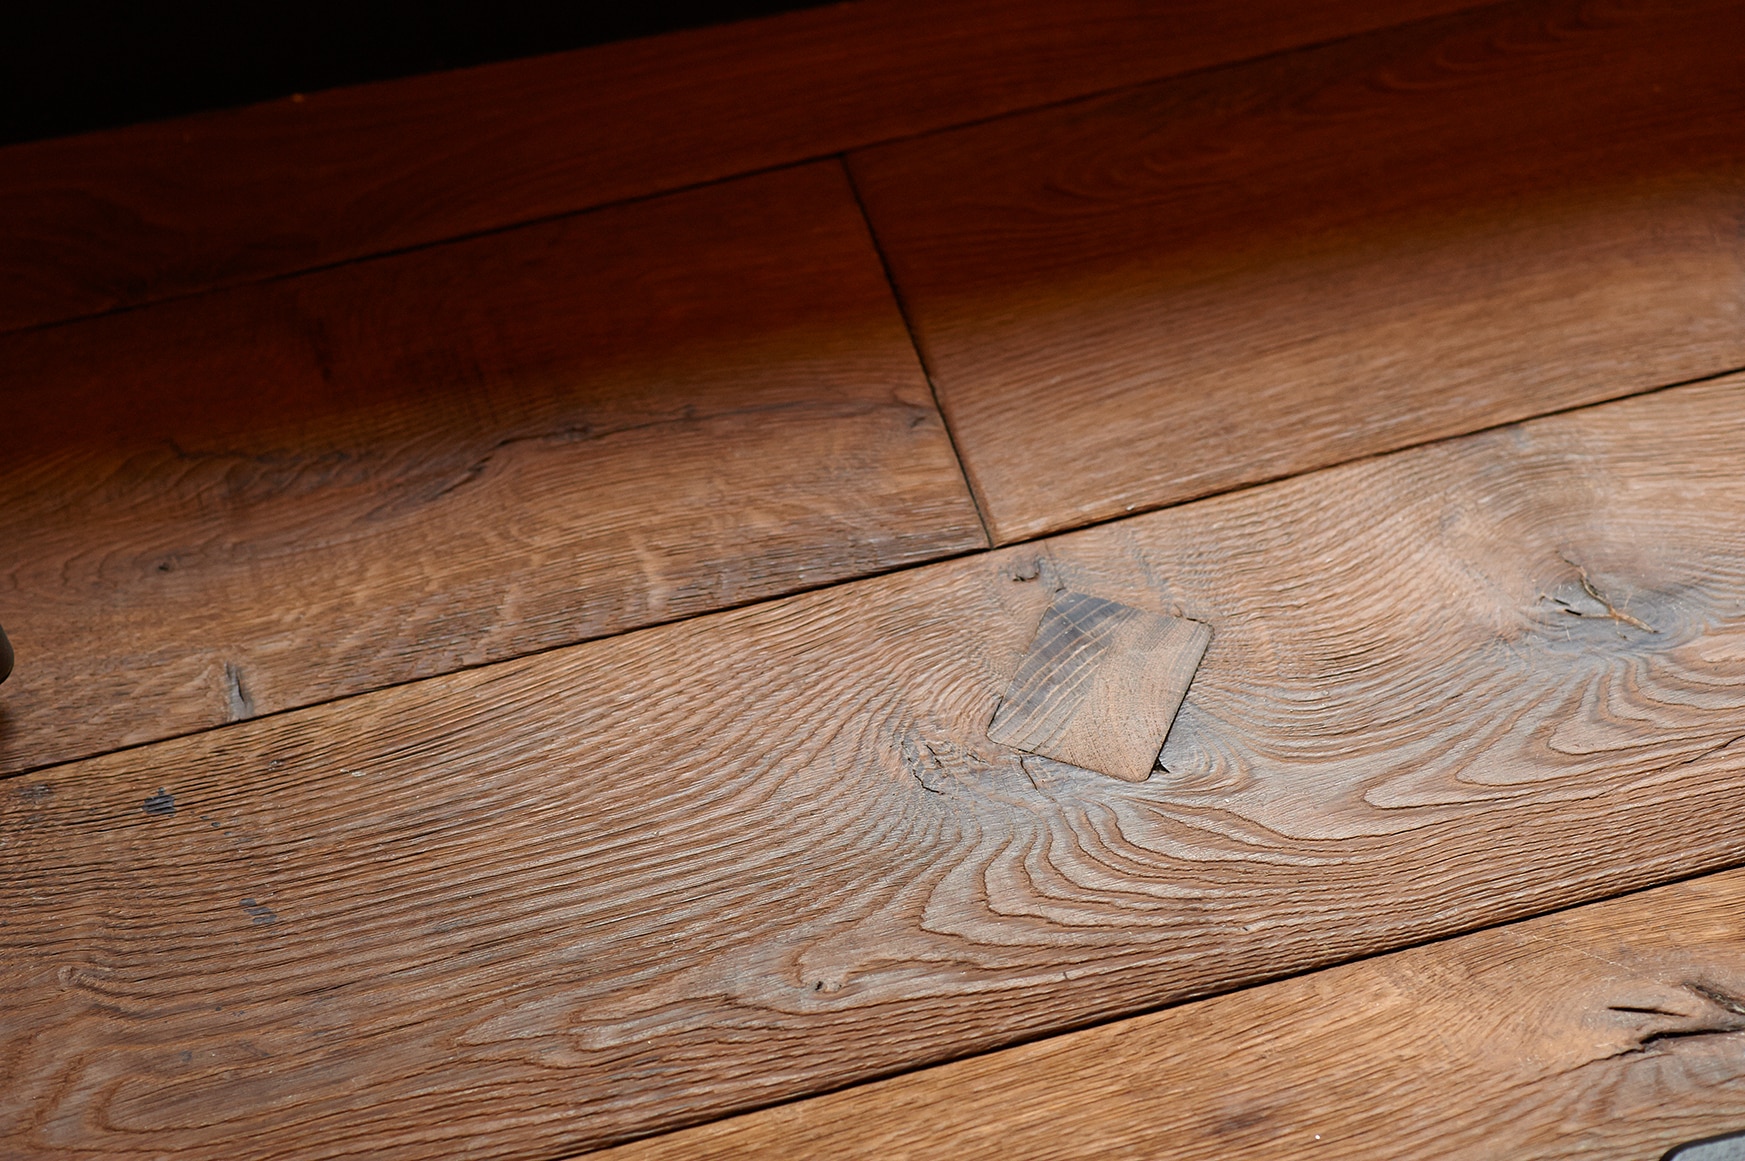
Bandsaw and rough-sawn timber, with its distinctive physical texture and grooves, has a history that dates back to the early days of woodworking. The bandsaw itself is a classic tool that woodworkers have used for centuries. Unlike modern, high-speed circular saws, bandsaws use a continuous loop of metal with teeth to cut through timber. This slower cutting process results in the characteristic, uneven patterns, ridges, and grooves that make bandsaw timber so unique.

The bandsaw, in its various historical forms, was an essential tool in woodworking shops of the past. It allowed craftsmen to efficiently cut logs into lumber and planks, making it an integral part of traditional craftsmanship. These early bandsaw-cut planks were used in a variety of applications, from constructing buildings to crafting furniture, and they quickly gained a reputation for their durability and rustic appeal.


The Revival of Bandsaw Timber in Modern Flooring

In recent years, there has been a growing resurgence of interest in bandsaw and rough-sawn timber for modern interior design. The reasons for this revival are numerous and reflect both practical and aesthetic considerations.

1. Authenticity and Character: Bandsaw timber flooring embodies the authenticity and character of the past. Its irregularities, natural imperfections, and grooves provide a tangible link to a time when craftsmanship was prized, and every piece of wood told a unique story. This historical authenticity is particularly appealing in an age dominated by mass-produced, homogeneous products.

2. Visual Texture: The physical divers and grooves in bandsaw timber create a visually rich texture that can transform any space. This textured surface adds depth and interest to a room, giving it a warm, inviting ambiance that simply can’t be replicated by more uniform flooring materials.

3. Durability: Bandsaw-cut timber is known for its durability. The bandsaw’s slower cutting process results in lumber that is denser and more robust, making it an excellent choice for high-traffic areas in modern homes. It can withstand years of use and still maintain its beauty.

4. Maintenance:  Let’s get real on the maintenance of rustic styles; Bandsawn and rough-sawn timber is so rich in texture that it will hide a myriad of sins.  Scratches, dents and stains can often be concealed within the character and texture of this style of timber flooring.  Much more so than with say, prime grade smooth finishes.

5. Versatility: Bandsaw timber is versatile, allowing it to complement a wide range of interior design styles. Whether your space is rustic, contemporary, or somewhere in between, bandsaw timber can be adapted to suit your needs.

Bandsaw timber flooring is a beautiful, practical choice for modern interior design. Its deep-rooted history, authenticity, and unique textural qualities make it a versatile option that can enhance the character and ambiance of any living space. By embracing the rustic charm of bandsaw timber, you not only add a touch of nostalgia to your interior but also ensure that your flooring exudes character and charm for years to come. As you take each step on your bandsaw timber floor, you’ll be walking through history while enjoying the timeless beauty of a classic material in a modern setting.