8 Ways to a Luxurious Interior with Timber Flooring

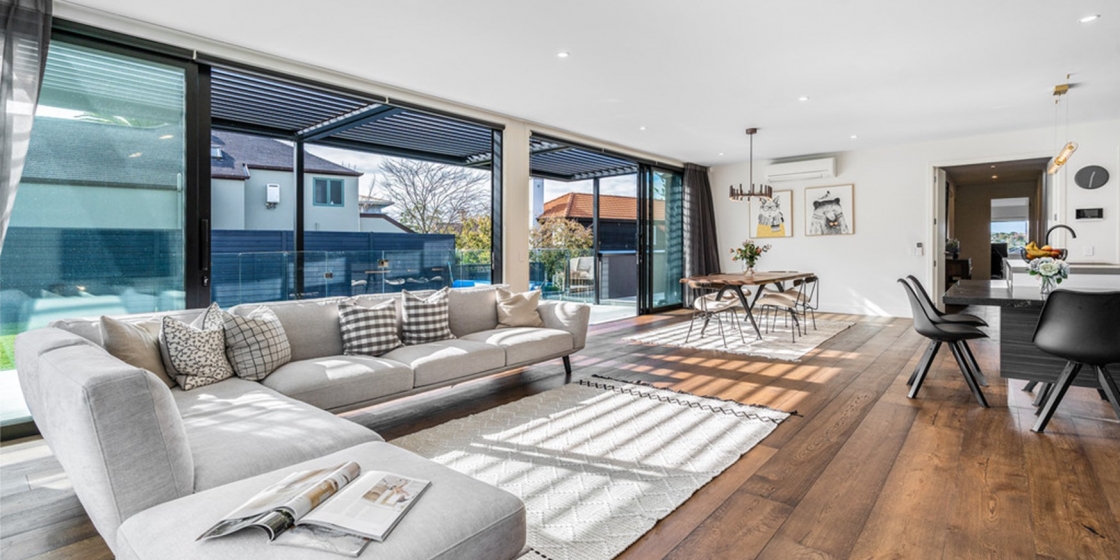
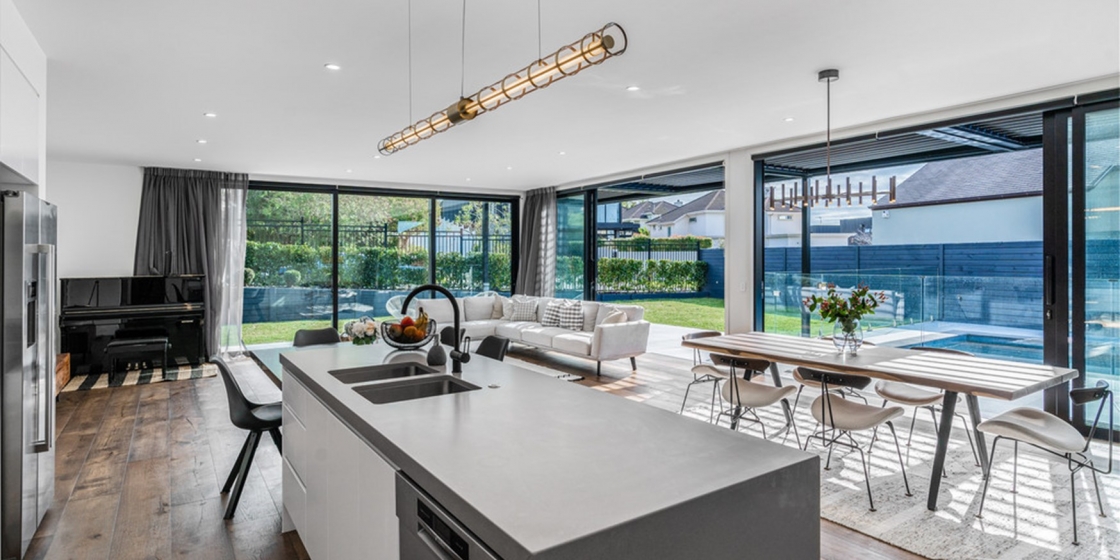
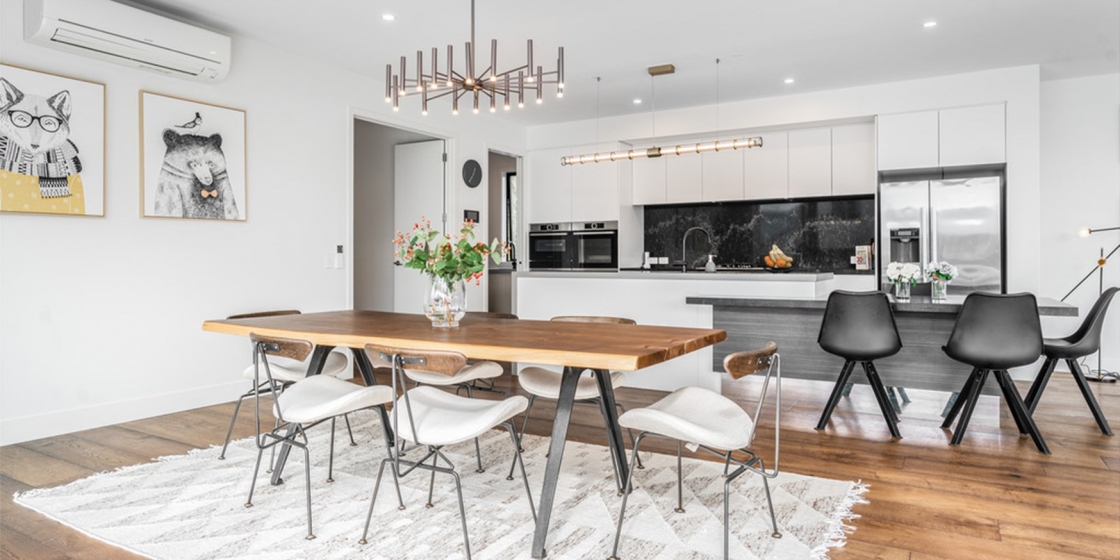
Timber flooring is likely to be the design feature that takes up the largest area of your home, therefore your choice of product has a huge impact on the atmosphere of your interior. Here are 8 easy ways you can ensure your timber flooring elevates your home to a luxurious level.

1/ Choose European Made Timber Flooring

Most ‘European’ wood flooring available in New Zealand is actually manufactured in Asia. If you really want a more refined atmosphere in your home, specify genuine European made timber flooring.

The Europeans combine centuries of wood working tradition with the latest technology, to craft superior quality engineered timber flooring.

Perfect milling precision, the latest European designs and wood treatments and generous longer lengths of flooring are some of the features of European made timber flooring. All of these elements combine to bring that special x-factor to your home; a feeling of quality and refined luxury throughout the interior.

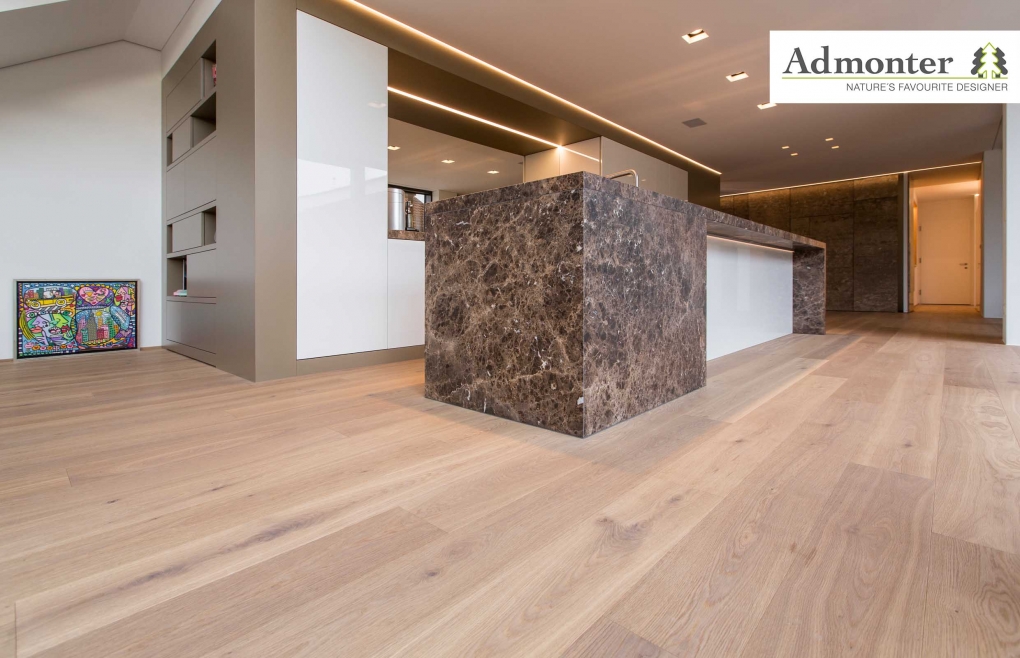
2/ Use Wide Floorboards

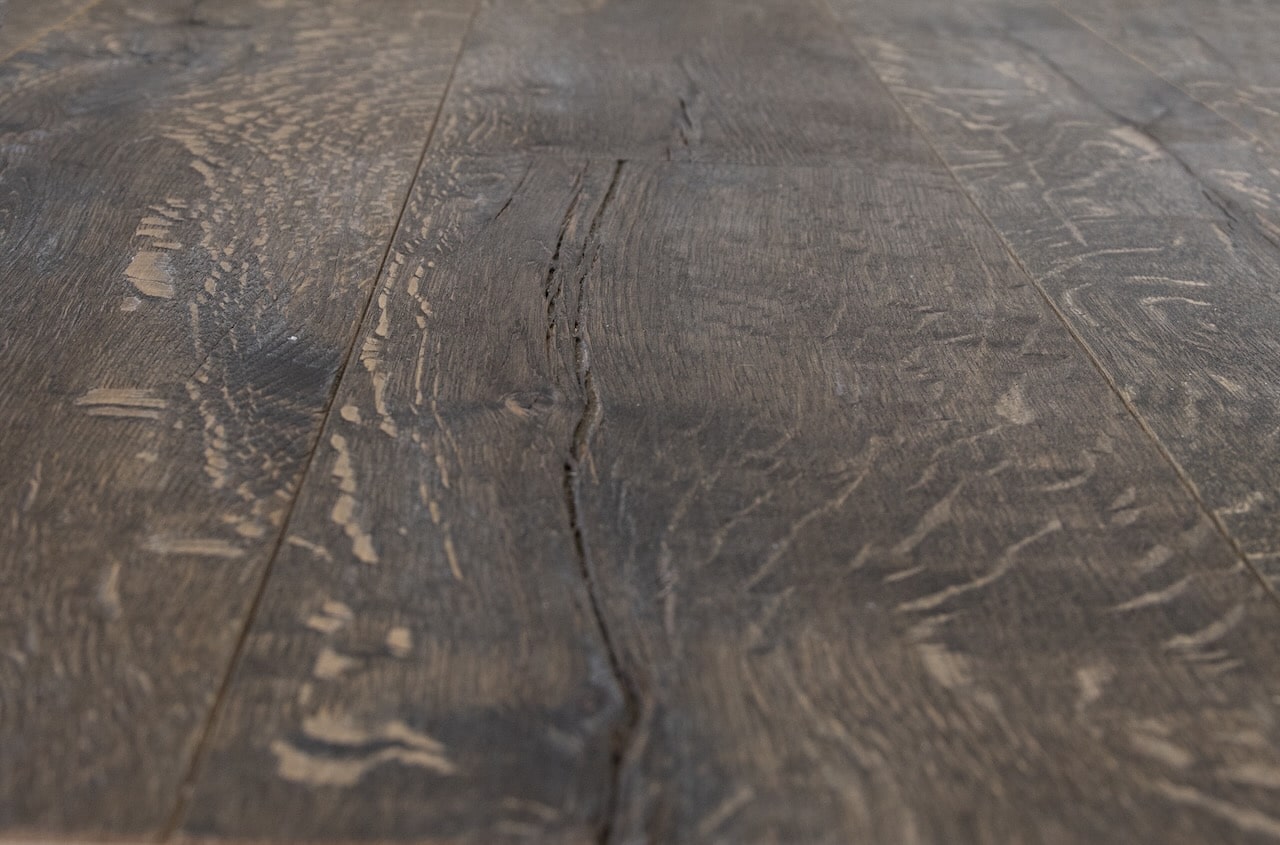
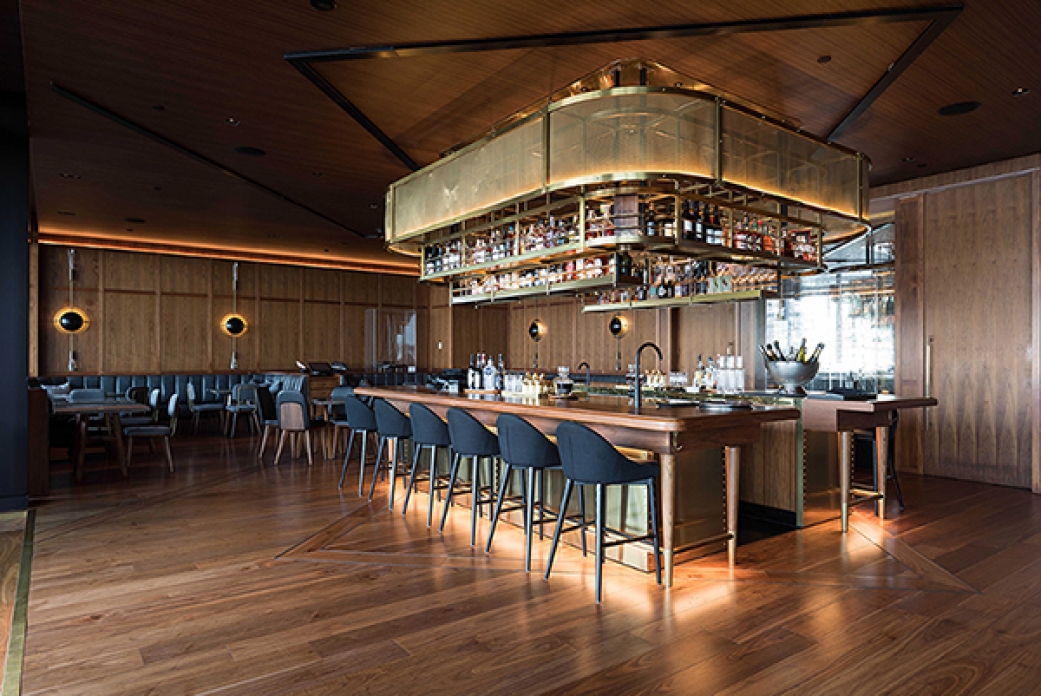
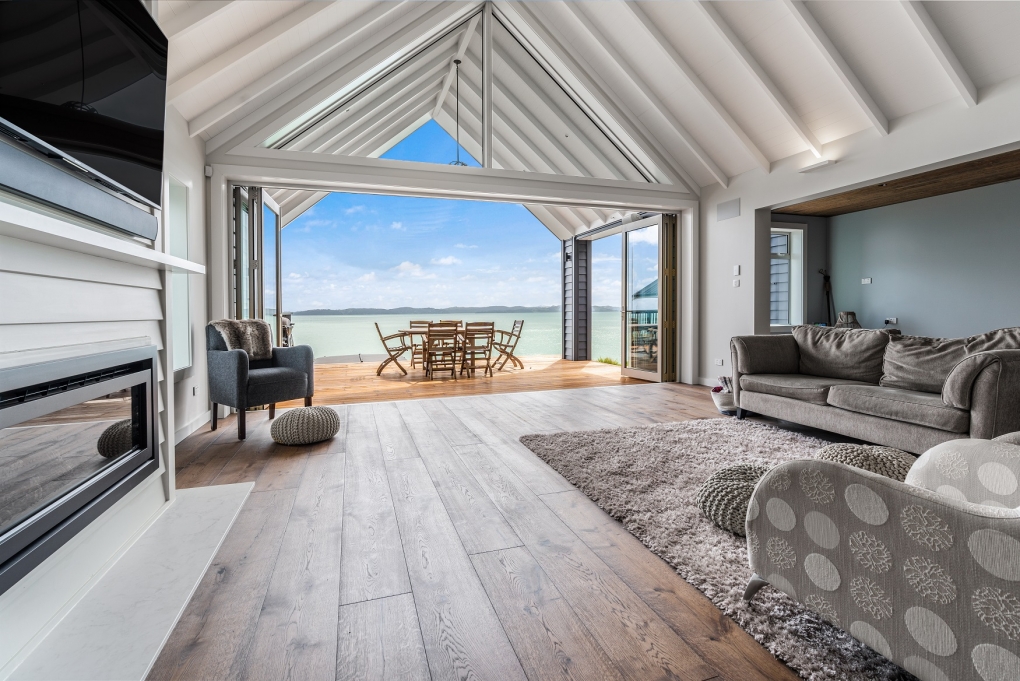
Wide floorboards are an easy way to elevate the appearance of your interior. Wide floorboards bring ‘wow’ factor and a grand sense of scale to the interior. Depending on the size of room, you may consider anything from 180mm up to 300mm.

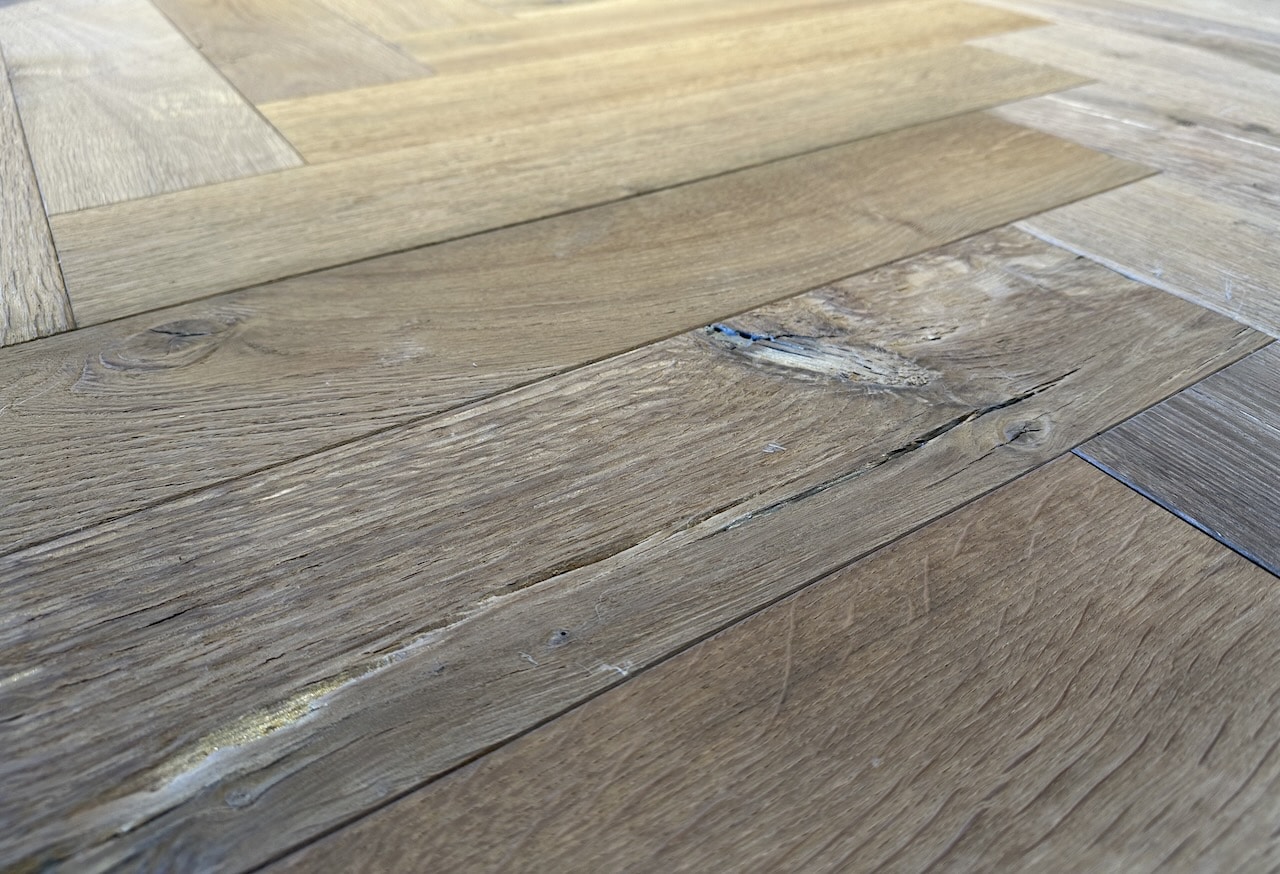
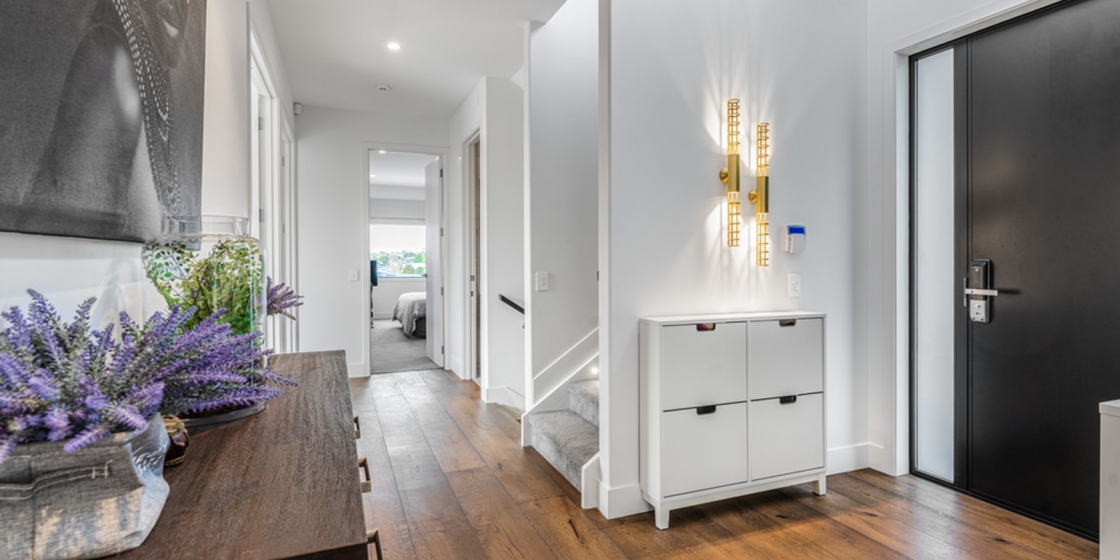
Oak Onyx 250mm

3/ Specify Longer Floorboards

Floorboard length is a vital element that is surprisingly often overlooked. As an example, most of the oak floorboards available in New Zealand are relatively short in length, as they’re usually sourced from Asia, resulting in a busy appearance to the finished floor. These short boards are typically a maximum length of 1900-2000mm, with a high percentage of much shorter boards mixed in – eg. about 40% of boards may be from just 600mm in length.

By comparison, Vienna Woods ensure that we always source the longest boards possible in each range we offer. Typical lengths we source from Europe are from 2200mm to 2400mm, however we can source massive lengths of up to 5 metres. Our floorboards come in fixed lengths where possible (with no shorter lengths supplied). Some products do come with shorter boards of mixed length, however we always ensure that even these ‘shorter’ boards are of reasonable length.

These generous sized longer floorboards from Europe will elevate your interior, bringing a premium atmosphere to your home.

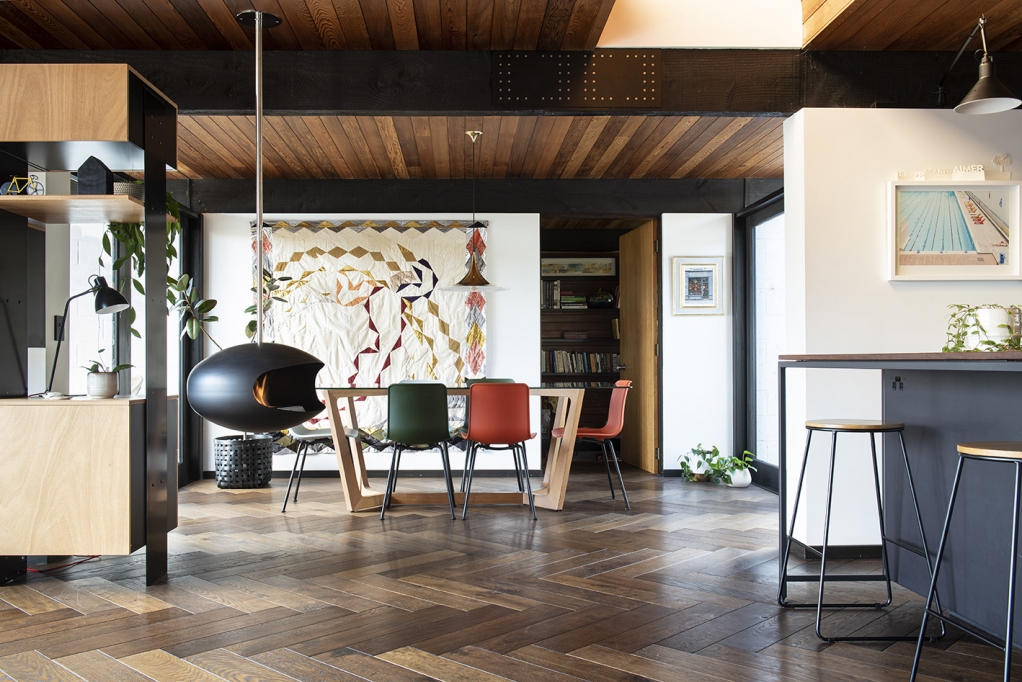
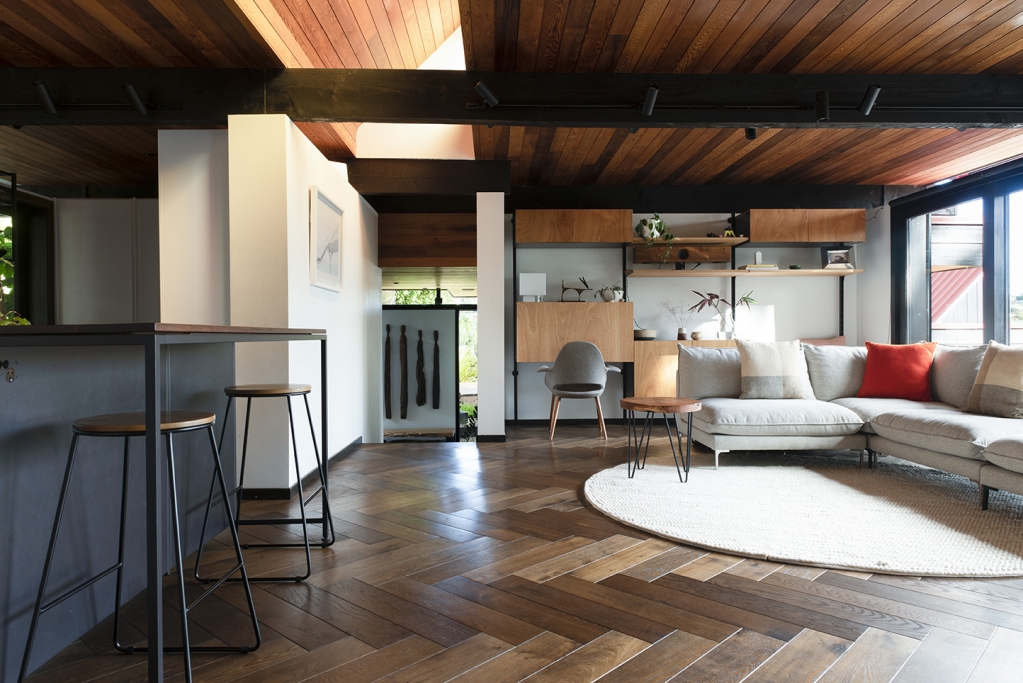
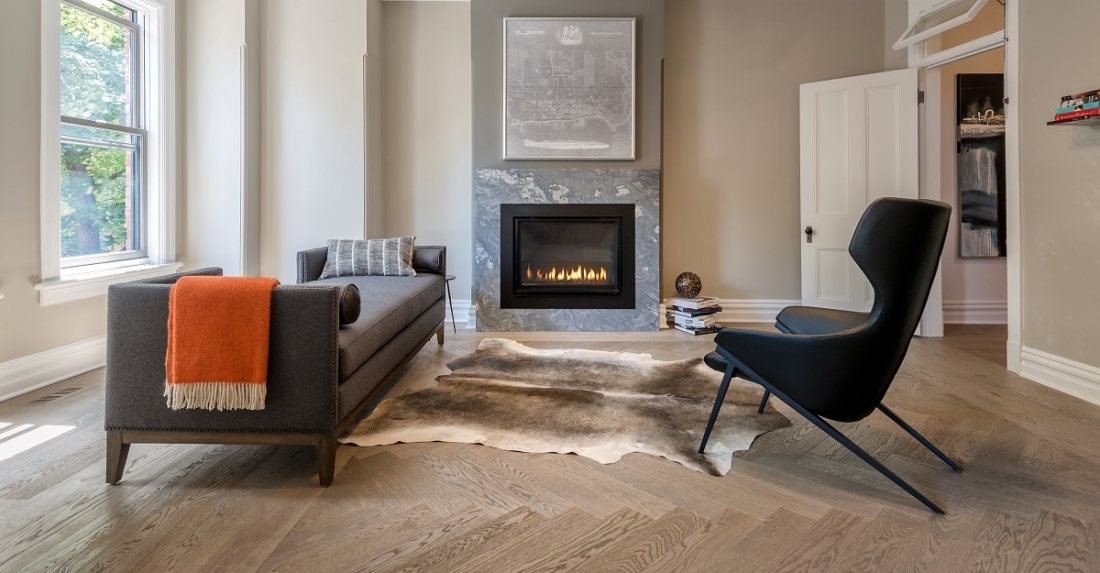
4/ Herringbone and Chevron Patterns

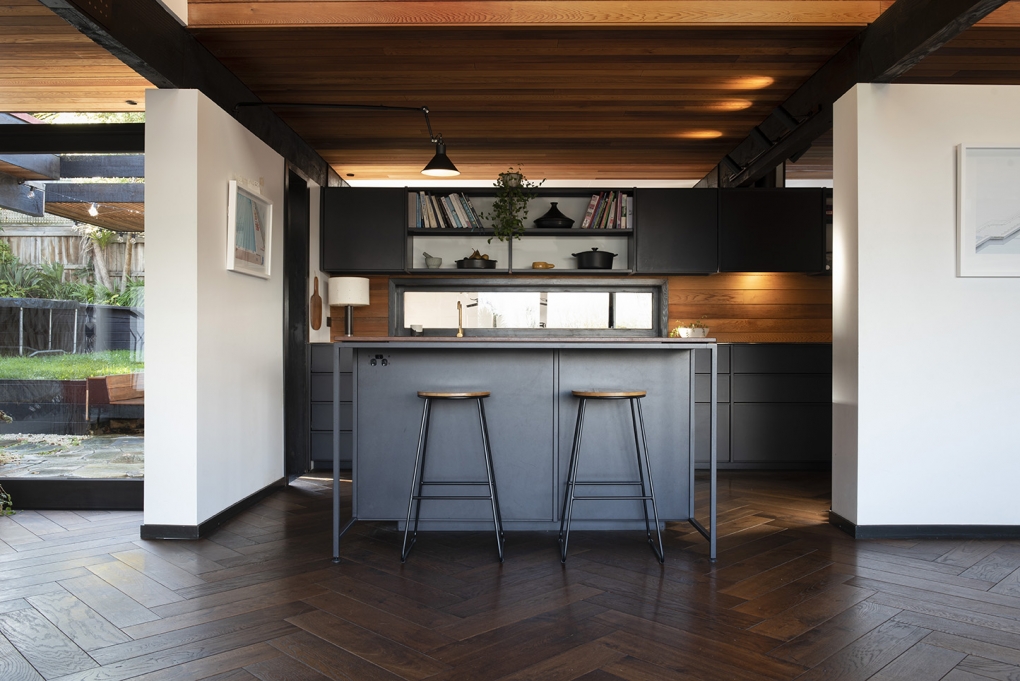
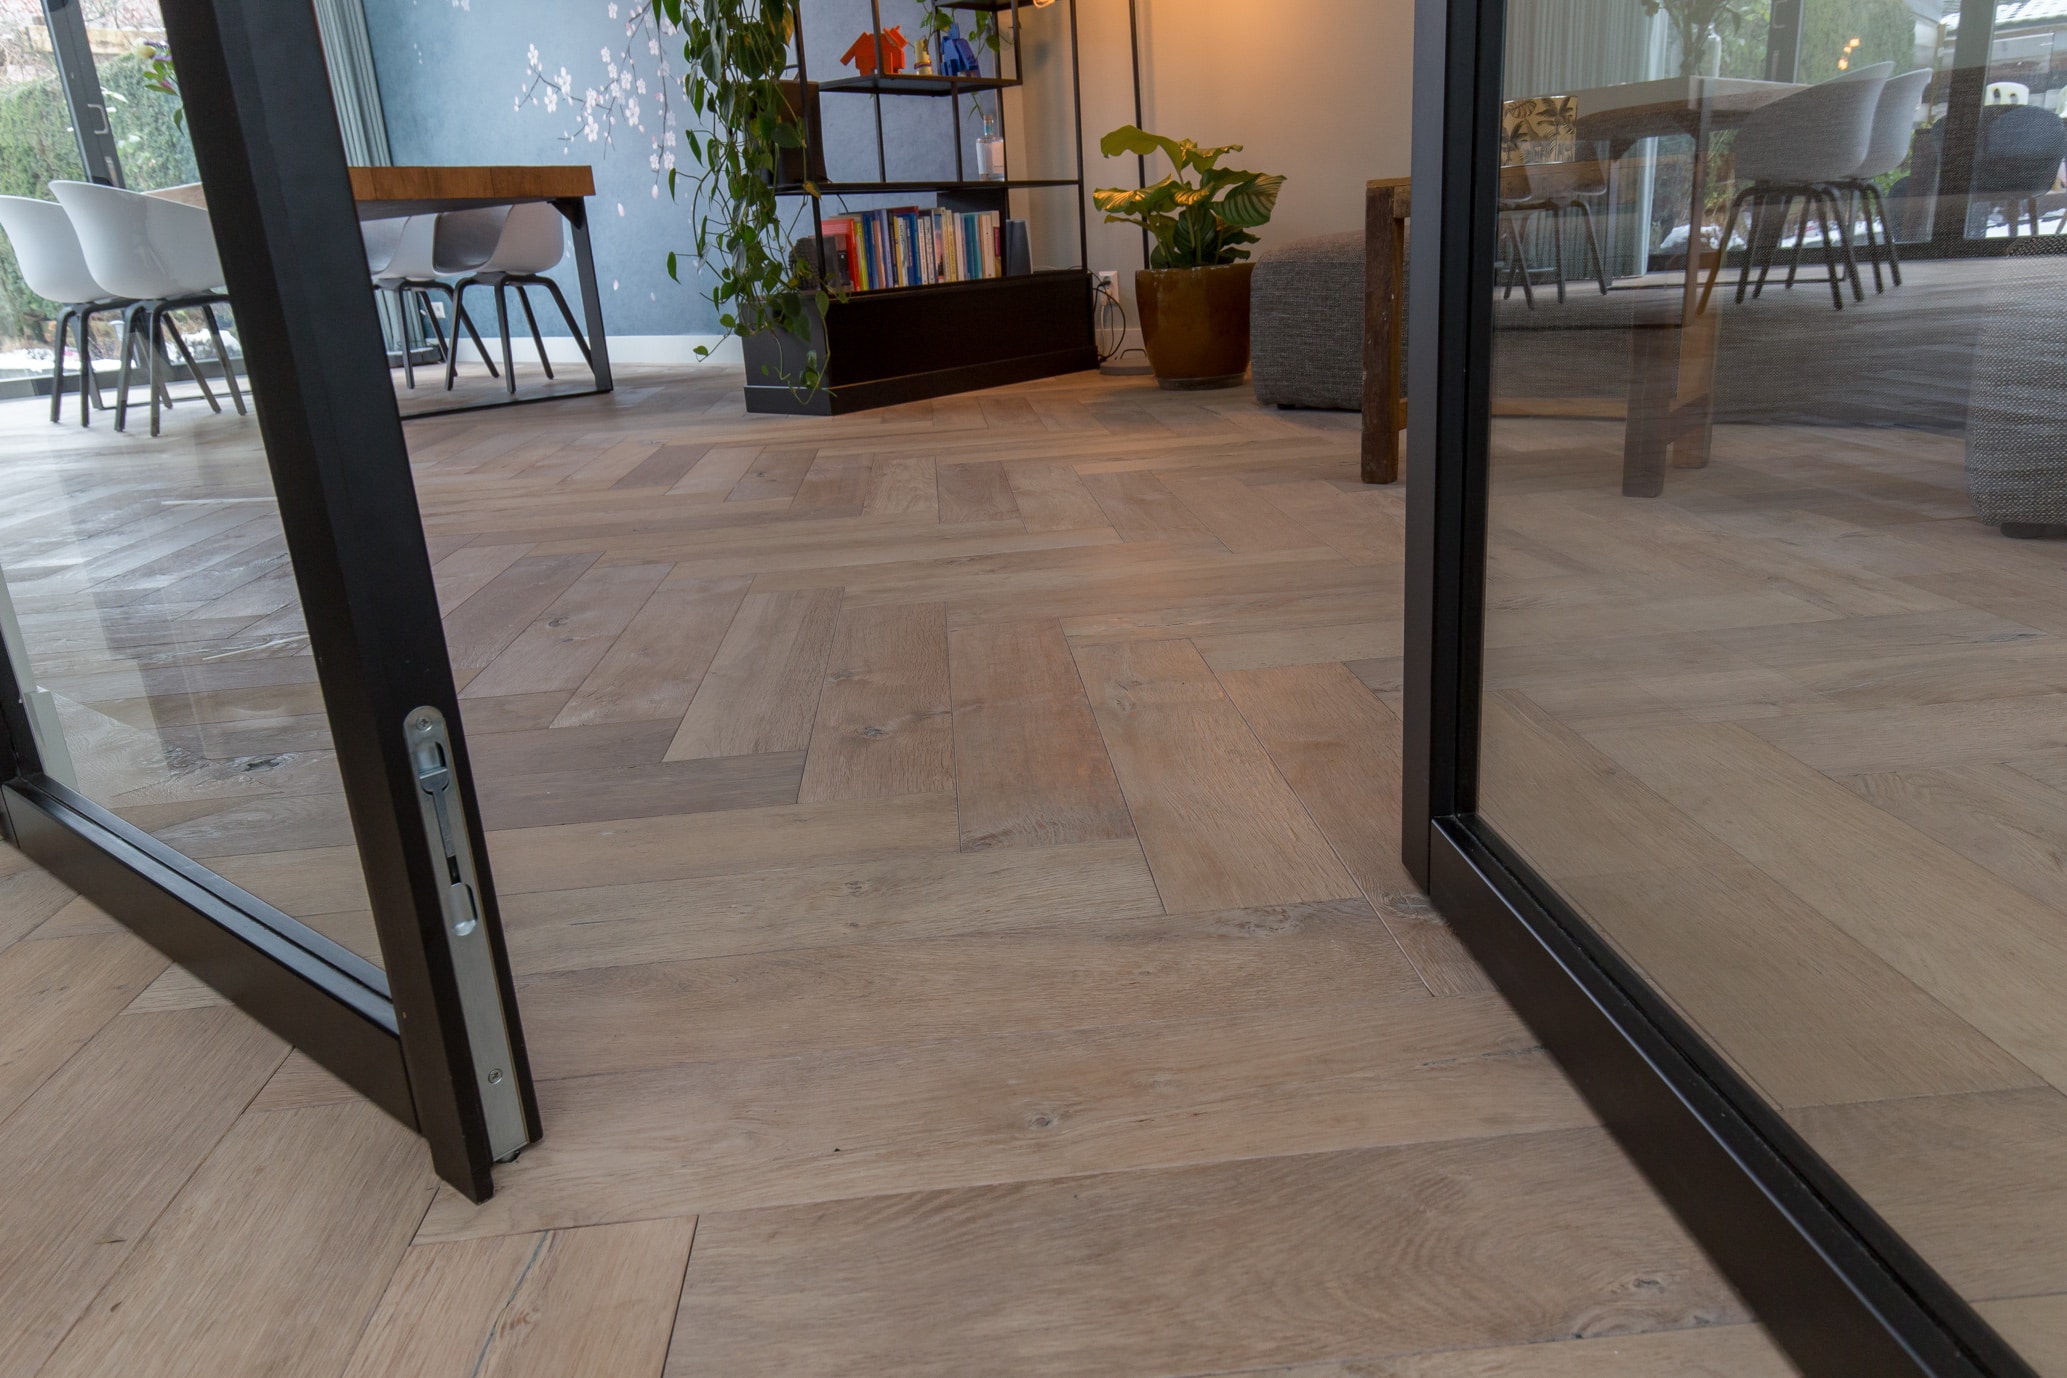
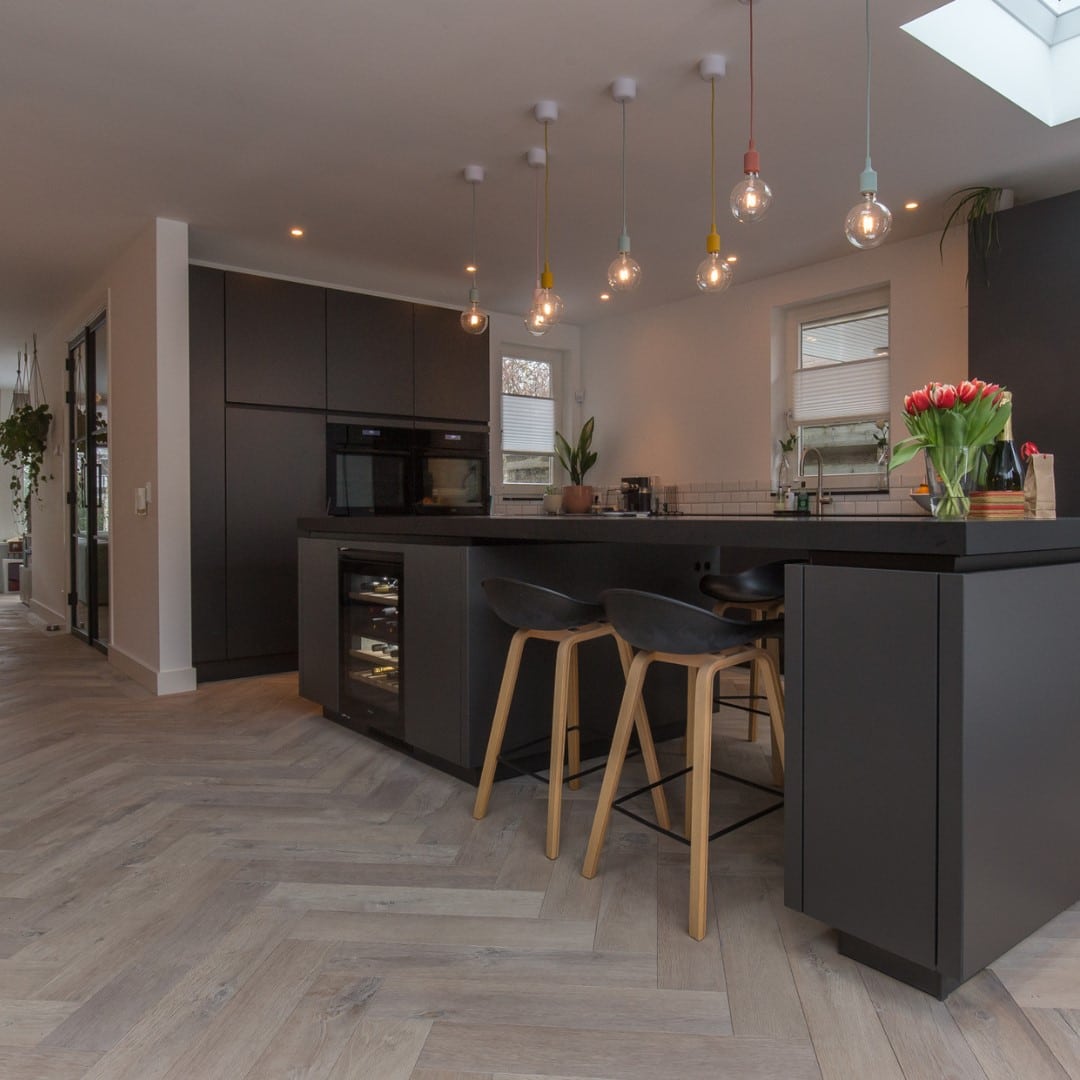
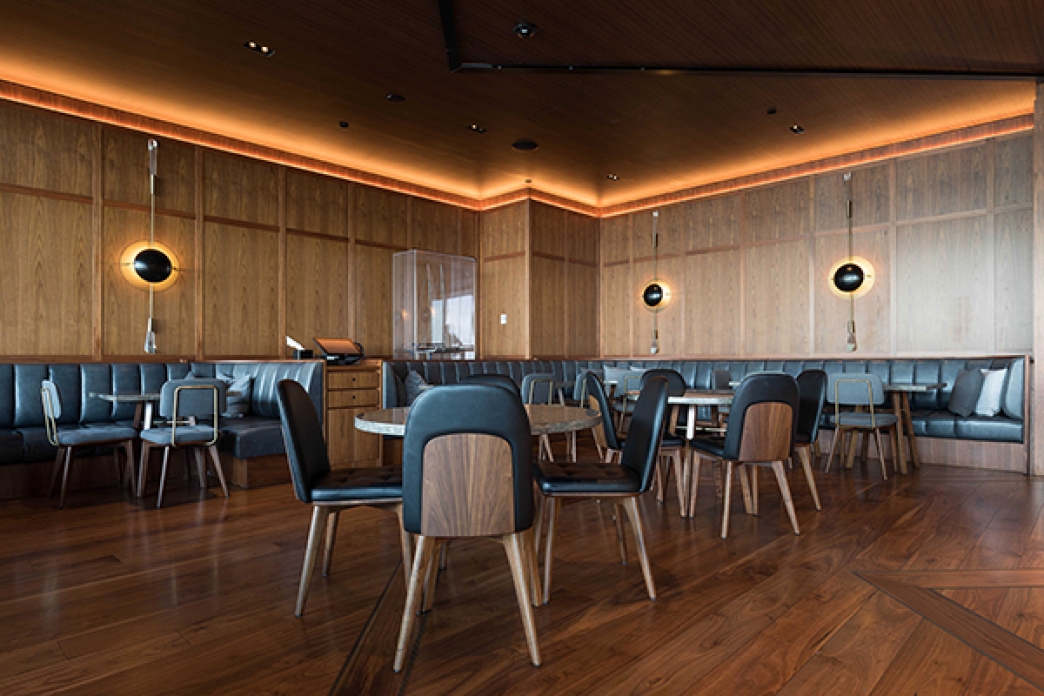
These classic patterns updated for modern living are an excellent way to achieve a sense of luxury in your home. We recommend using European manufactured herringbone or chevron, as milling precision is absolutely vital in achieving a premium look with these patterns.

It is increasingly common to combine these patterns with standard boards in other areas of the home – apart from creating a visual feature this also helps keep costs down.

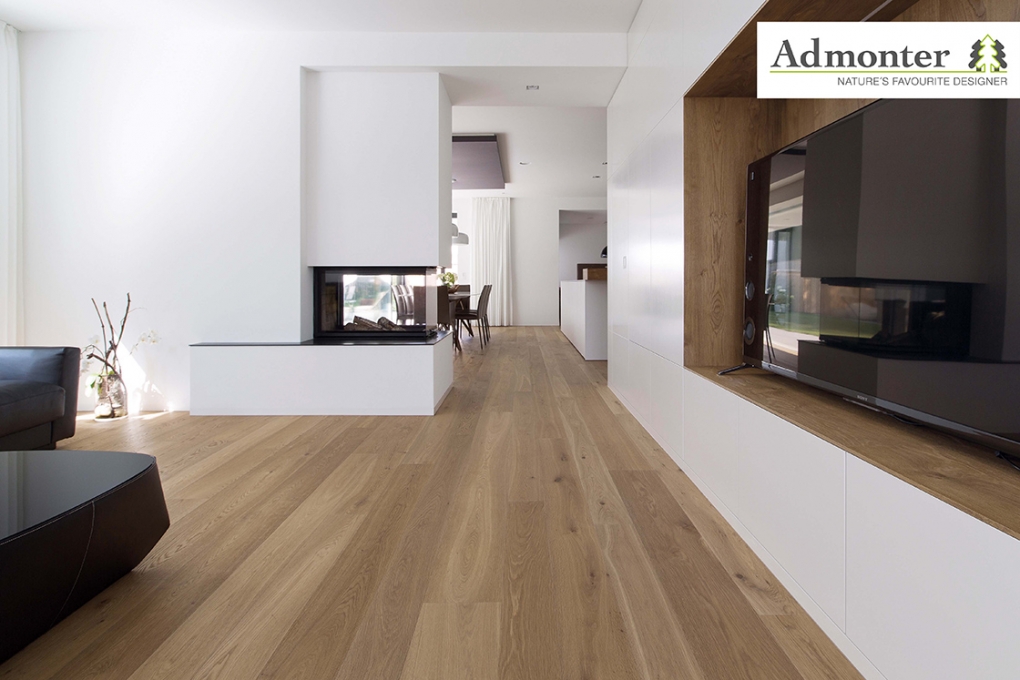
Admonter Oak Grey Herringbone

5/ Brass, Aged Brass or Matt Black trims

This is a relatively easy way to bring extra style to your interior. The trims can be placed in doorways where your wood flooring meets other floor coverings. Alternatively, you can add a feature to your floor, such as placing some boards in diagonal patterned sections in your hallway, with the metal trims creating a border between the feature pattern and standard floorboards.

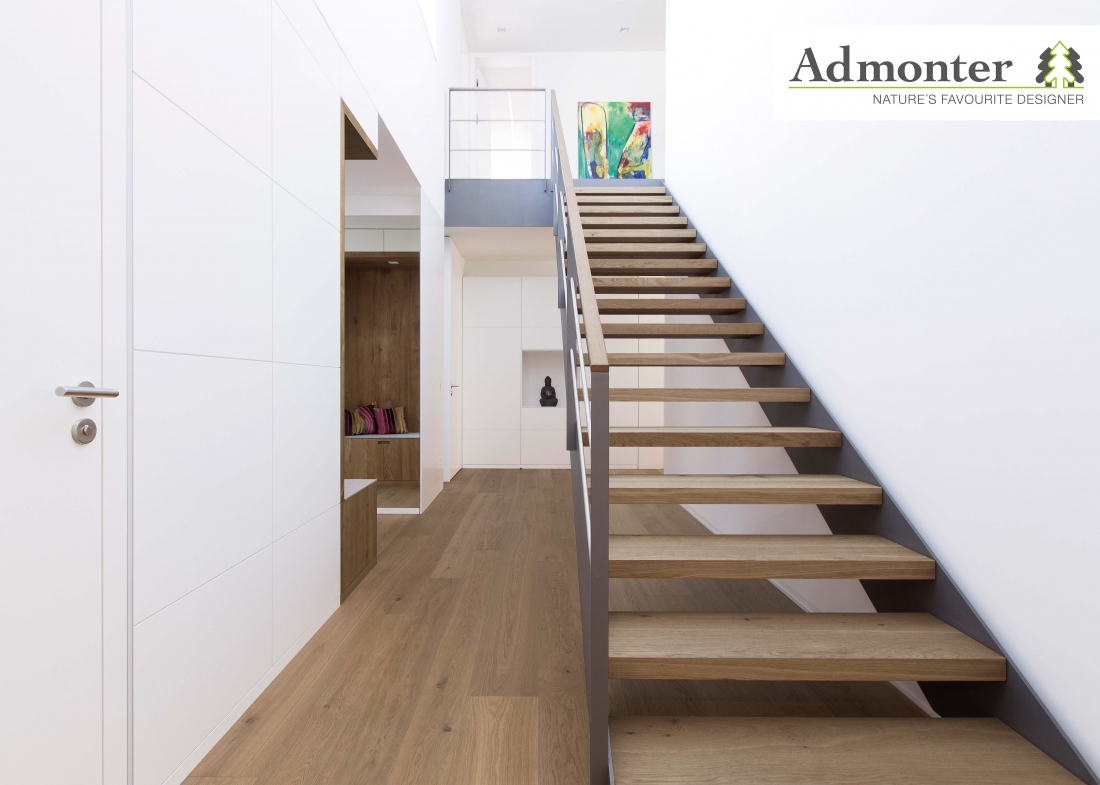
6/ Open Stair Treads

Open stairs bring a unique architectural element to your interior. We can offer a prefinished tread option that is unique to the market; open stair treads made in the same factory as your flooring, from exactly the same wood source. The colour tone, texture and finish is the same as your flooring which helps achieve a seamless look between these interior elements.

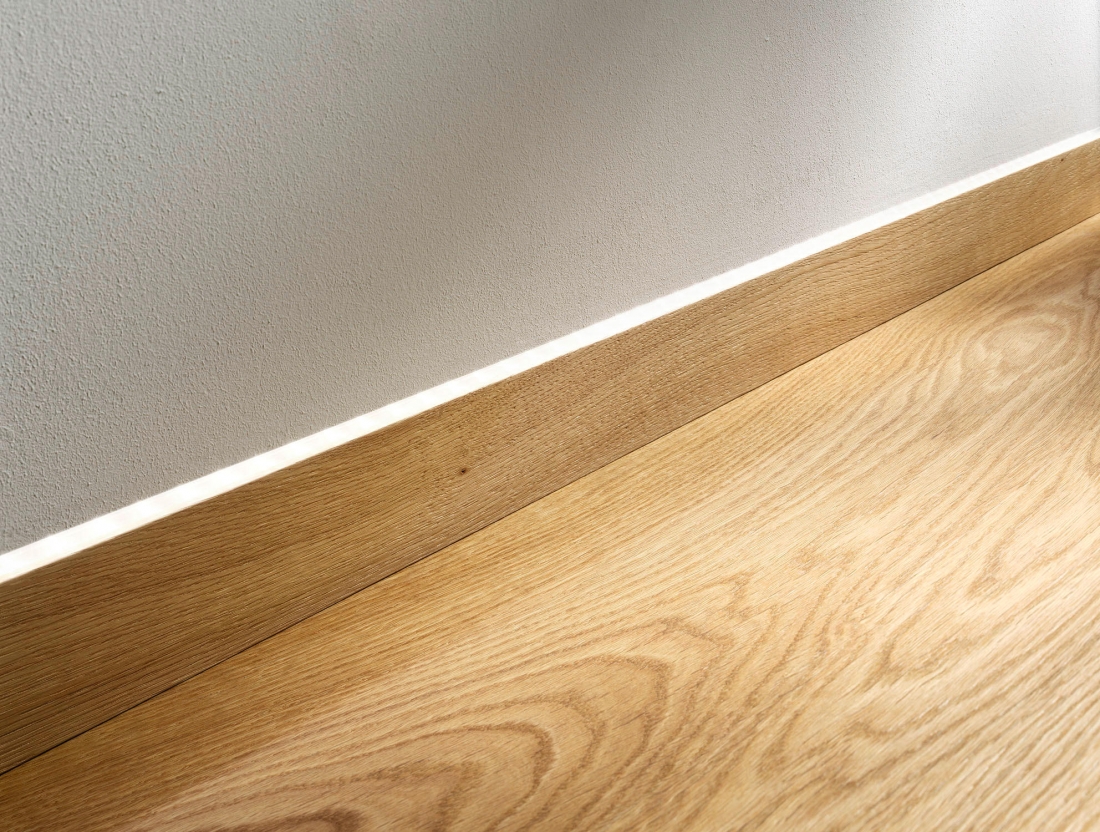
7/ Matching Skirting

Matching skirting is available from select manufacturers and is an elegant way to tie the flooring and skirting together for more impact.

8/ Wall and Ceiling Panels

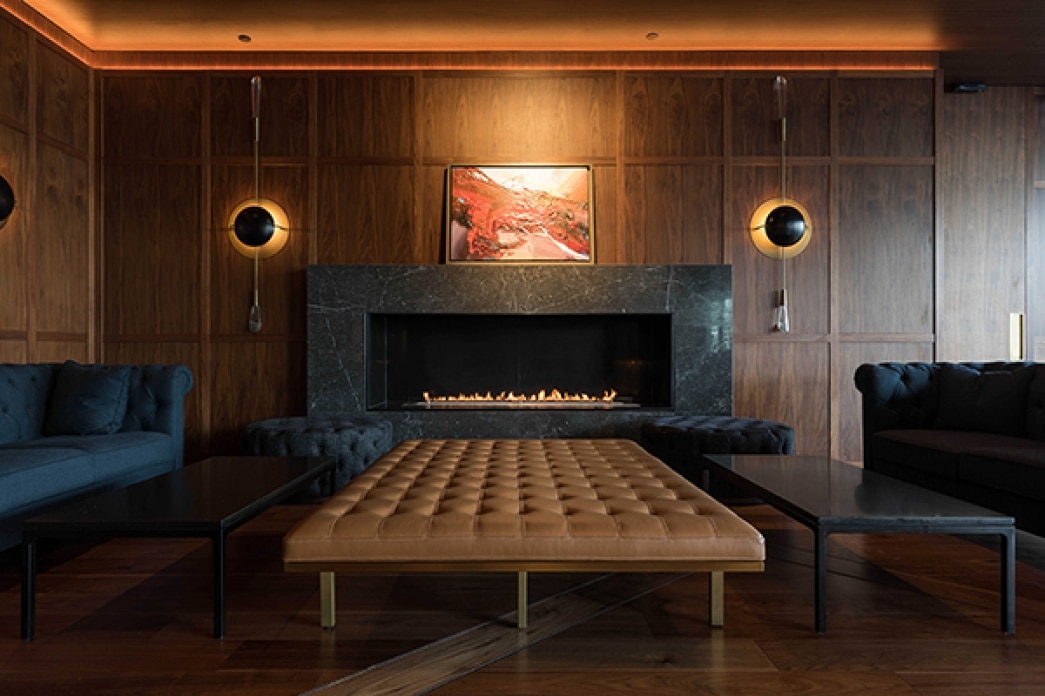
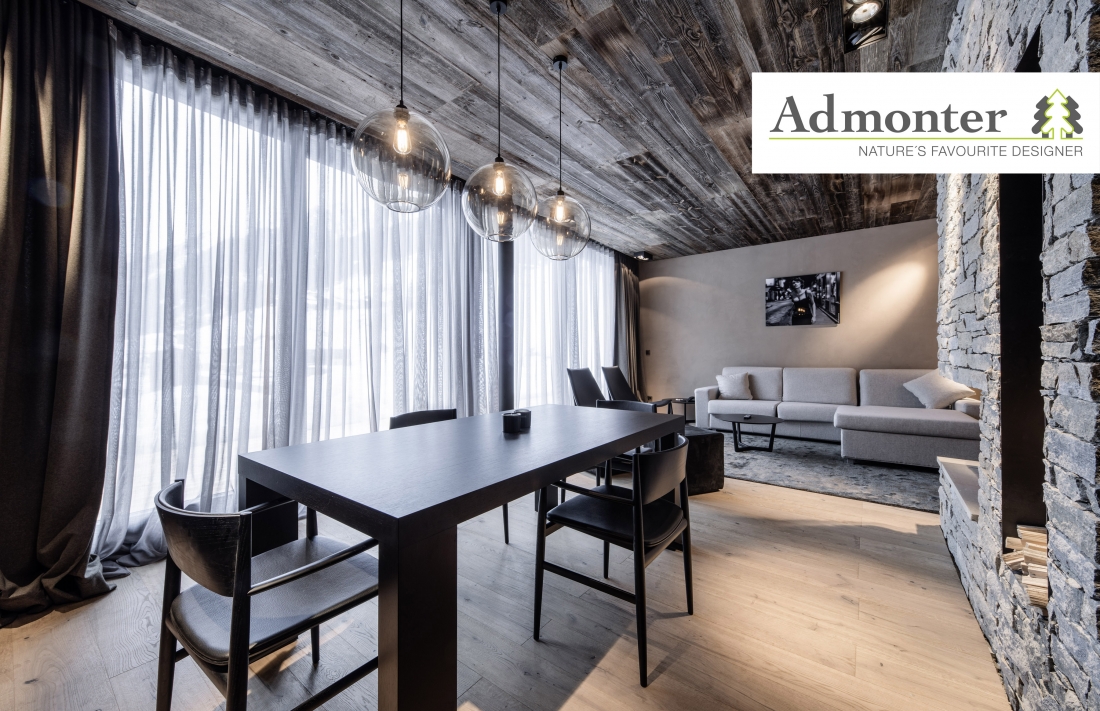
Using matching or contrasting wood panels or floorboards on walls and ceilings is an excellent way to bring some architectural wow-factor to your home.

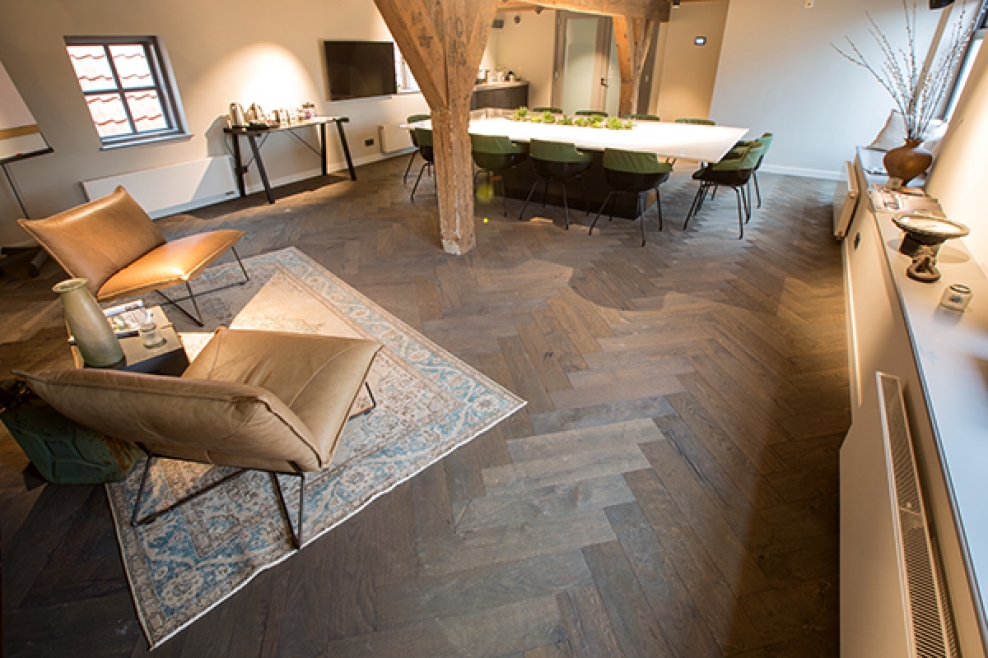
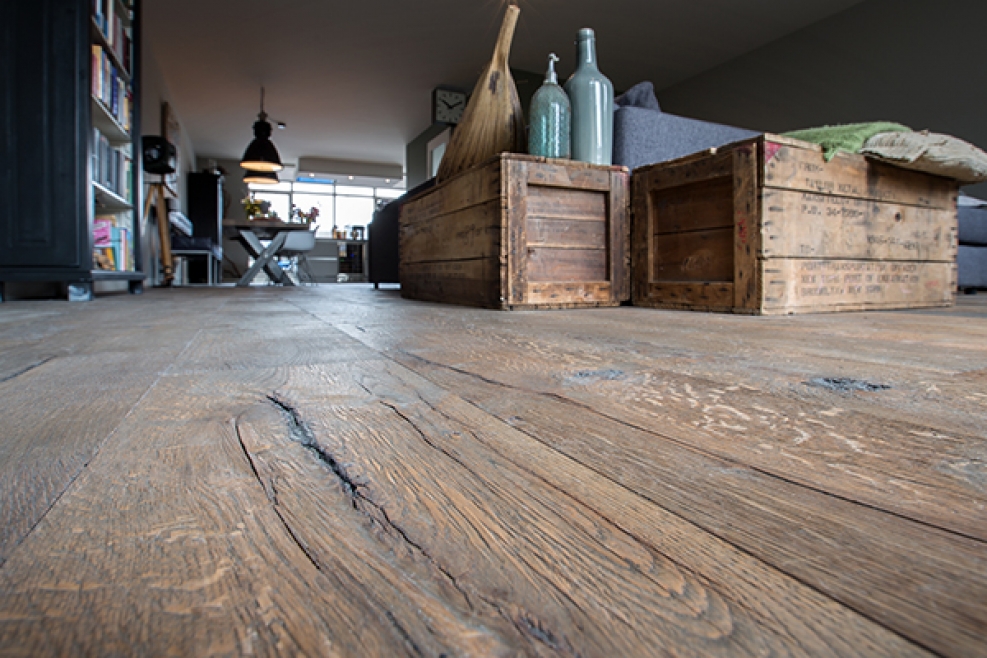
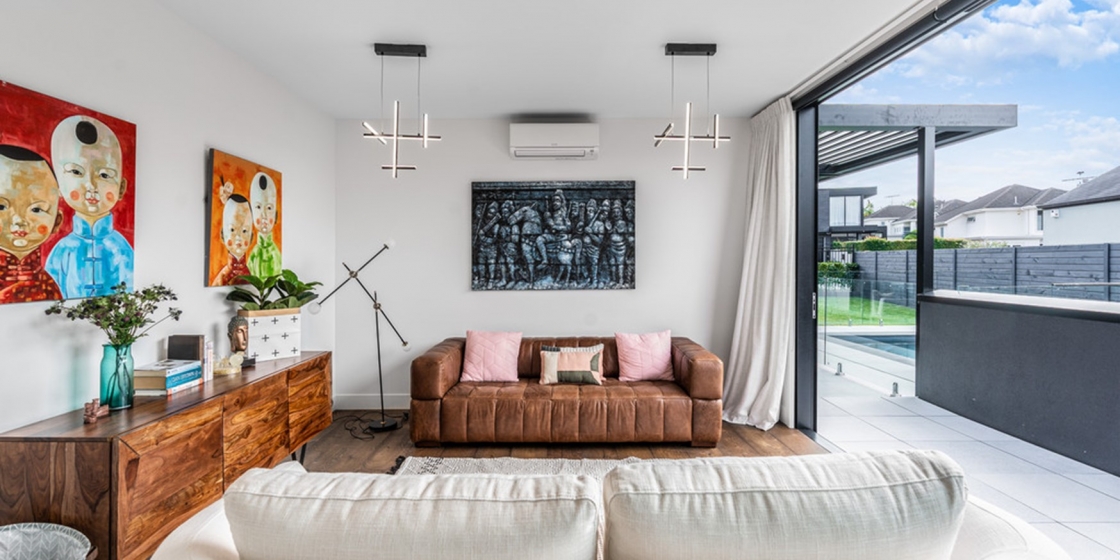
Reclaimed Wood Sunbaked

Floating v Glue Down Installation

THE INSTALLATION METHODS

There are two methods used to install wood flooring; you can ‘float’ the planks so they sit on top of an acoustic underlay, without any glue being used, or alternatively you can glue the wood flooring down to the existing sub-floor.

It is possible to either float or glue-down wood flooring to the following: existing wood flooring, particleboard, plywood, concrete, old ceramic tiles and old vinyl flooring. Laminate flooring must only be installed using the floating method.

Glue Down Installation

Main Advantages:
– Best for acoustic performance, especially for reducing ‘footfall sound’ in the actual room you are walking in.
– Deals with minor sub-floor unevenness better than a floating floor.
– Visually more appealing as smaller size trims can be used between the wood and other floor coverings, such as a tile angle.
– No trims are required against window or slider joinery.
– Best method for underfloor heating as it ensures better transfer of heat to the floor surface.
– ‘Solid’ feel underfoot.

Disadvantages
– Costs more than a floating installation due to higher labour costs and adhesive cost.
– More time-consuming compared to a floating installation.

Floating Installation

Main Advantages:
– Suitable for DIY installation.
– Quickest and most cost effective installation.
– Good at reducing sound transfer to rooms underneath.

Disadvantages:
– Many poor quality underlay’s do not address the typical ‘drummy’ sound of floating floors.
– Larger trims are required to finish between your wood floor and other floor coverings. These trims are designed to hold the floor down & allow expansion (trims are about 17mm wide).
– Aluminium trims are also required up against floor level window joinery & slider joinery; to hold the floor down in those areas.
– Poor quality wood flooring can squeak when installed floating – especially if the click-lock mechanism is not licensed. It should always be a genuine Uniclic or Valinge click-system.
– The sub-floor must be very level for a floating type of installation.

CONCLUSION

If you can afford it then we recommend that you glue your timber flooring down for a premium result. If you decide to float your timber flooring then the quality of the underlay is paramount; we recommend European made underlay such as Selit Aquastop with a high impact sound reduction rating and good compressive strength.

Engineered vs Solid Wood Flooring

This guide describes the benefits of engineered wood flooring compared to solid wood flooring, and we also address some of the myths about both types of wood floors.

Due to its inherent advantages, most of the natural wood flooring installed in Europe and New Zealand is of ‘engineered’ construction. Engineered wood flooring is 100% real wood and is made in two ways: either 3-ply (top layer of hardwood, with 2 backing layers of spruce or birch etc), or multi-ply (top layer hardwood with multiple backing layers made from plywood). Often it is supplied prefinished, with the colour and finish already applied to the hardwood surface.

LIFE-SPAN

ENGINEERED WOOD

Most engineered wood floors will last you over 35 years to a lifetime, depending on wear and tear. The 2.5mm to 4mm or even a 6mm hardwood top layer can be sanded several times over the life of the floor. If your floor has a natural finish then you’ll be maintaining the finish regularly by adding more oil to the floor – scratches can be repaired this way, meaning you may never need to sand the floor at all and your floor will last a lifetime.

SOLID WOOD

Solid wood planks can only be sanded down to just above the level of the plank tongue. This means that only about 5-6mm of wood is available for sanding. Furthermore, when installing the solid wood floors they must be aggressively sanded in order to ensure the surface is completely flat. You can easily lose several millimetres of precious wood during this process. Solid wood planks should last from 50 years to a lifetime.
We believe the lifespan of solid wood when compared to engineered wood is consistently over-stated, most engineered wood flooring will last you just as long.

COST

ENGINEERED WOOD

Most engineered wood flooring is supplied prefinished, with the colour and finish (lacquer, UV oil or natural oil) applied in the factory. The cost to apply the finish in a factory is inexpensive, resulting in a very competitive, finished floor that is ready to live on after installation.

SOLID WOOD

By comparison most solid wood flooring is supplied as raw wood planks, and must be finished on site; this involves messy & time-consuming sanding and application of several layers of finish at great expense.

SOPHISTICATED WOOD TREATMENTS

ENGINEERED WOOD

Premium engineered wood flooring comes with a huge range of surface treatments and finish options. Interesting new textures are released regularly. Popular options include smoked oak, thermo-treated wood, band sawn, planed, scraped, cross texture, fossil sawn, distressed, aged, brushed,the list goes on. These textures and finishes are applied in advanced factories in Europe where craftsmanship, passion for wood and the latest technology combine to produce beautiful and distinctive wood flooring.

SOLID WOOD

By comparison solid wood is usually sanded flat on-site, then a polyurethane or oil is applied to the flooring. Solid wood is almost always square edged, lacking the variety of floorboard edge types available with prefinished wood flooring.

FINISH QUALITY

ENGINEERED WOOD

As the finish is applied in modern state of the art factories using the latest European automated coating lines this assures durability and the finish coatings are applied in a very precise and consistent manner. It’s difficult to fault this method of finish application. There is no risk of sanding marks, coating lines on the floor, uneven coating texture, flaking finishes or other common problems associated with site-finished floors.

SOLID WOOD

As the finish is applied in the dwelling you have to rely 100% on the skill of the floor-sander and trust they will use high quality finishes. The range of finishes available to floor sanders in NZ is tiny compared to the vast range of high-tech industrial finishes available in Europe.
Humid weather can play havoc with curing times and if there is time-pressure and additional coatings are applied before stains have cured, the finish may not be as durable as it should be.

Often coatings are applied on-site unevenly, or sanding marks are visible – it is literally impossible to apply a floor finish in the home to the same level of quality as that which is applied on a modern production line.

QUICK & EASY INSTALLATION

ENGINEERED WOOD

Engineered wood flooring is the clear winner when it comes to convenience. As it is so stable, in most cases you can deliver and start installation almost immediately without having to worry about acclimatisation. The flooring can be walked on immediately after installation and you can move furniture onto the floor within 24 hours of completion (or immediately, if installed as a floating floor).

SOLID WOOD

Solid wood planks must be delivered a few weeks beforehand so the wood can acclimatise to interior humidity levels – otherwise you’ll run the risk that the floorboards will move too much after installation causing big gaps between planks, or cupping and warping.

Once the solid wood floorboards are installed & ready for finishing the delays continue. It can easily take a further 5 days to apply the finishes.

The process to acclimatise, install, sand and finish solid wood can take 3 times longer than the simple installation of a pre-finished engineered wood floor.

GAPS, CUPPING & WARPING

ENGINEERED WOOD

Gaps cupping and warping are less likely to occur with engineered wood floors as the multi-layered wood expands and contracts at less than half the rate of a solid wood floor. However some gaps are to be expected as wood is an organic material; boards may not be perfectly straight – it’s wood after all, and the boards are also subject to shrinkage and expansion from atmospheric and interior conditions. With T&G engineered wood flooring some gaps may be visible during installation, which can be filled with filler if desired. Humidity fluctuations may cause planks to shrink further over time. If a patented click-system is used you’ll not see gaps between the planks at time of installation, however over time the boards will still expand and contract and therefore some gaps may still appear.

SOLID WOOD

If you’ve ever looked at a solid wood floor installed in a villa in New Zealand, you’ll be aware that unsightly looking gaps can appear as the planks adjust to climactic conditions. The gaps can certainly be larger than what might be expericned with engineered wood floors.

Even worse, solid wood is at high risk of expanding too much after installation causing the planks to cup or warp, and the floor to fail. There is an especially high risk present when installing over concrete due to the amount of moisture present in the slab. Other risk factors include under floor heating and temperature and humidity fluctuations.

PLANK WIDTH

ENGINEERED WOOD

Wide planks from 180mm up to 300mm bring a sophisticated, generous atmosphere to your interior and are incredibly popular. Because of the multi-layered plank construction, these wide planks can safely be installed in difficult environments such as with under-floor heating or in humid climates, without any risk of gapping, warping or floor failure.

SOLID WOOD

Wide planks made from solid wood are a recipe for disaster. For this reason solid wood such as oak is often supplied in medium widths such as 150mm or less. Solid wood simply moves too much from humidity fluctuations, therefore plank width needs to be kept to a minimum to ensure the floor will not expand or contract too much.

CONCLUSION

Many people are attracted by the idea of having a solid wood floor, it is after all the traditional choice. The difficulties that may arise are myriad. Non-engineered solid wide-plank wood floors will inevitably continue to expand and contract after installation. Decreases in humidity in the exposed wear surface can cause cupping (concave curving) as the top of the plank dries out. Potentially, large gaps may appear between the boards as each board dries and shrinks. Increases in moisture content may generate excessive compressive forces around the floor’s perimeter, perhaps even causing the floor to lift in the most stressed areas. Solid wood will always distort.

Engineered wood is simply solid wood improved. Prefinished engineered wood is the clear winner in terms of aesthetics and offering a more sophisticated appearance. It offers more protection from gaps (although they’re still possible) and floor failure, superior texture and finish options, superior finish quality and considerable cost and time-savings. Engineered wood uses about 1/3 of the precious hardwood so it is also the safe environmental choice.

Gaps Between Floorboards

Hardwood floors are renowned for their enduring allure, yet the issue of noticeable gaps between floorboards, especially in older urban villas, is a common challenge. Despite advancements in engineered wood flooring, these gaps persist due to the intrinsic qualities of real wood. This piece delves into the origins of these gaps, their impact on aesthetics, and practical remedies for homeowners.

1. Grasping the Inherent Traits of Wood:
Real wood, the primary material in engineered boards, has a distinctive property of expanding and contracting with shifts in humidity. Analogous to a sponge, wood expands when saturated with water and contracts as it dries. Moreover, the organic nature of wood may result in slight bending of floorboards, deemed normal.

2. Aesthetic Contemplations:
While engineered wood flooring mitigates gap occurrence, it doesn’t eradicate them entirely. Homeowners hold diverse views on these gaps; some embrace them as part of the genuine charm of real wood floors, while others lean towards a more seamless appearance. The choice between click-lock systems and traditional tongue and groove joining systems influences gap likelihood.

3. Click-Lock Systems vs. Tongue and Groove Joining:
Click-lock systems, prevalent in laminate flooring, provide a seamless look by securely binding floorboards, accommodating collective expansion and contraction. In contrast, tongue and groove joining systems may exhibit gaps between boards and other design elements, such as stair nosings. Both systems find widespread acceptance in the architectural and design community.

4. Tackling Gaps:
Homeowners averse to visible gaps have options to minimize their impact. Click-lock systems, especially when installed floating over underlay, diminish gap visibility. Alternatively, larger gaps can be addressed with colored fillers, preserving the authenticity of real wood while addressing aesthetic concerns.

5. Climate Conditions and Seasonal Fluctuations:
Gaps in wood floorboards may become more apparent during or after installation, but it’s crucial not to panic. Immediate post-installation gaps can be lessened with colored filler, while those developing over time may naturally close up with changes in climatic conditions and seasons. Manufacturers recommend maintaining interior humidity levels between 40-60% to minimize floorboard movement.

Understanding the nature of gaps between wood floorboards, appreciating the available aesthetic choices, and knowing how to address and minimize these gaps contribute to a comprehensive approach for homeowners seeking the perfect balance between the allure of real wood and a visually appealing floor.