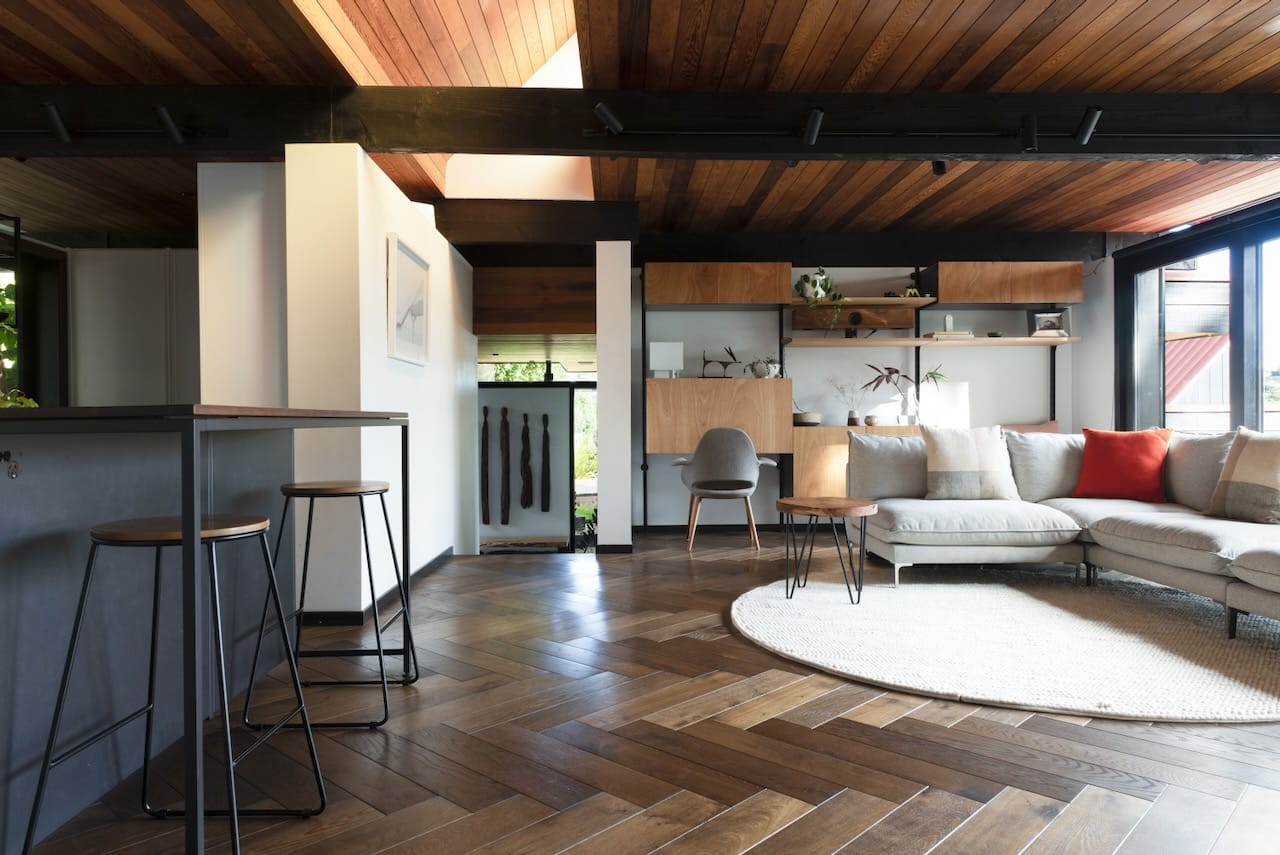
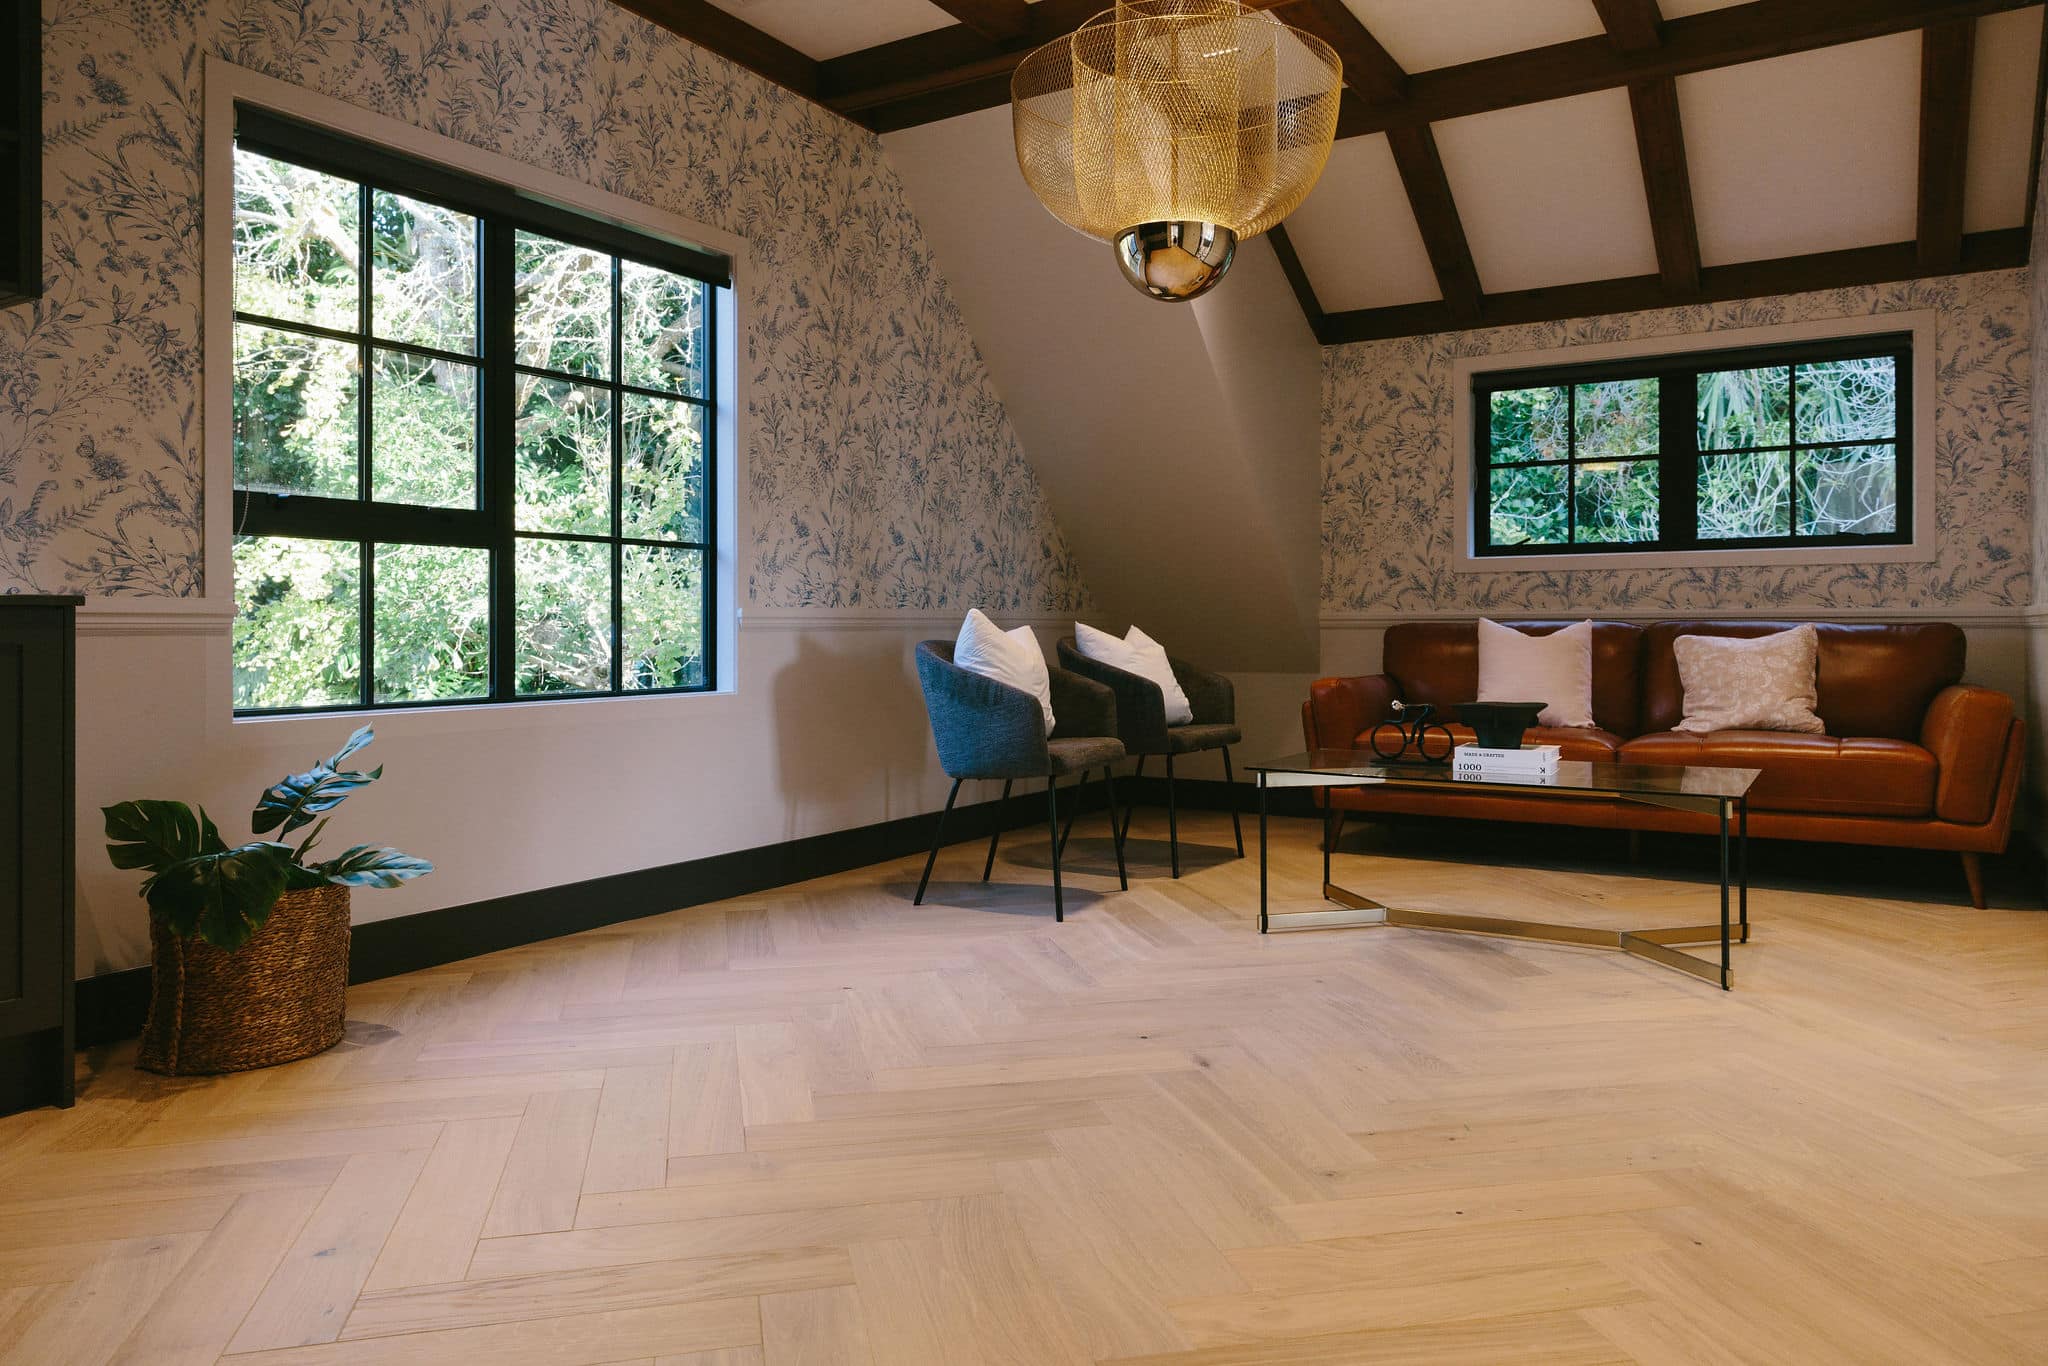
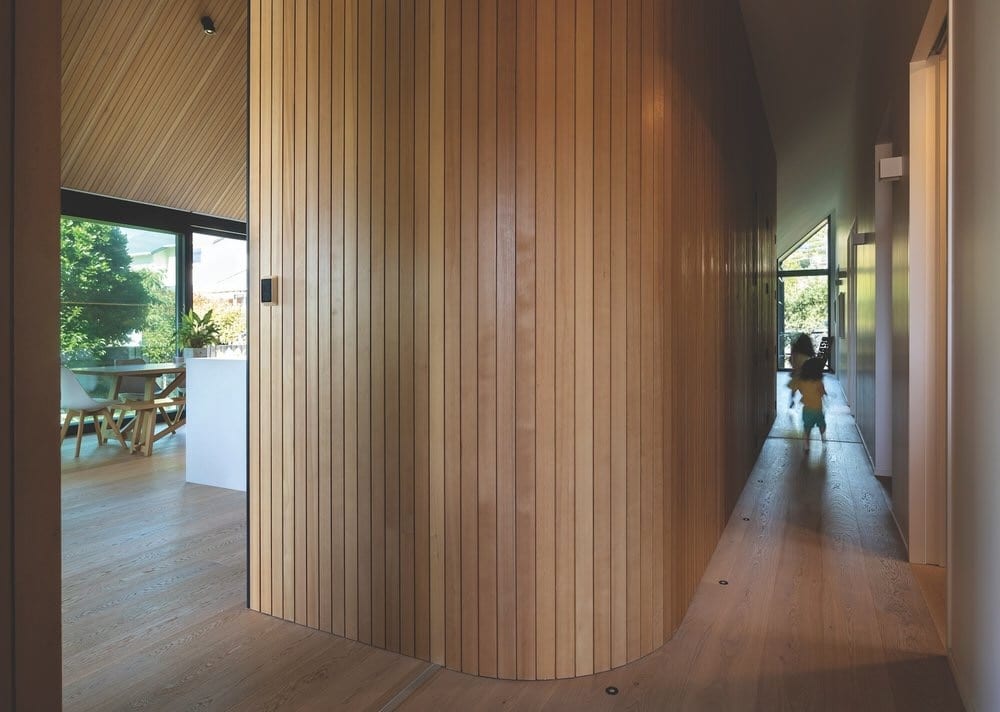
How to Know When It’s Time to Oil Your Timber Floor: A Guide to Maintaining Oiled Wood Floors
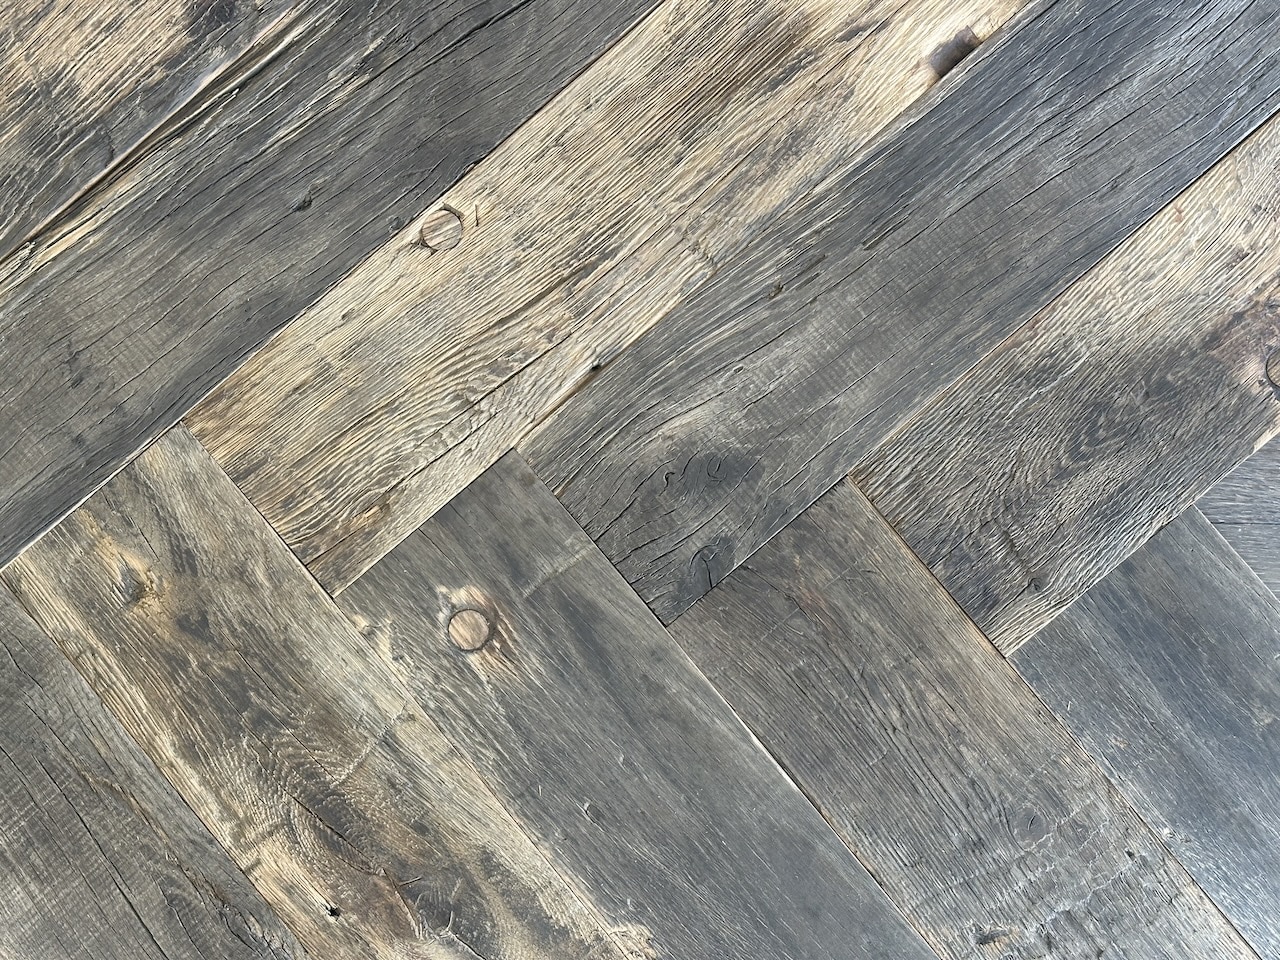
Timber floors are a timeless addition to any home, offering warmth, natural beauty, and durability. Among the various finishes available, an oiled timber floor stands out for its rich, natural appearance and the way it enhances the wood’s innate characteristics. However, to maintain this beauty and longevity, regular maintenance is key—specifically, re-oiling the surface. But how do you know when it’s time to oil your floor again? The manufacturers advise to apply maintenance oil every 12 to 36 months, but that’s quite a broad range. Hardwax oil tends to last longer before requiring maintenance, then there’s the oxidative and UV oils. Some spaces are in direct sun and others get a heavy dose of wear and tear. So how do you know when it’s time to oil your floor?
Let’s explore the signs and best practices for keeping your oiled wood floor in top condition.
1. Fading Lustre and Dull Appearance
One of the first signs that your oiled timber flooring needs attention is a noticeable loss of shine. The oil finish on your floor works by penetrating the wood and protecting it from within, giving it a natural, matte sheen. Over time, with foot traffic, exposure to sunlight, and regular cleaning, this lustre can fade. If your floor looks dull and lacks the warm glow it once had, it’s a clear indication that it’s time for a fresh coat of oil.
2. Dry or Rough Surface Texture
An oiled wood floor should feel smooth and pleasant underfoot. However, as the protective oil wears away, the surface can start to feel dry or rough, especially in high-traffic areas like hallways or living rooms. Running your hand over the surface can reveal this dryness—if it feels more like bare wood than a finished surface, it’s a sign that your floor needs re-oiling.
3. Increased Susceptibility to Stains and Water Damage
One of the critical benefits of oiled timber flooring is its ability to resist stains and moisture. The oil penetrates the wood, creating a barrier that helps to repel liquids. When this barrier begins to wear down, you might notice that your floor becomes more susceptible to stains from spills or watermarks, especially in areas like kitchens or near entryways. If you find that liquids are no longer beading on the surface and are instead soaking in, it’s time to reapply oil.
4. Visible Scratches and Scuffs
While all timber floors will eventually show signs of wear, an oiled wood floor is particularly easy to touch up. However, when you start to notice an increase in visible scratches and scuffs, especially if they’re more apparent than usual, it could indicate that the protective layer of oil is thinning. Re-oiling these areas can help minimise the appearance of scratches and extend the life of your flooring.
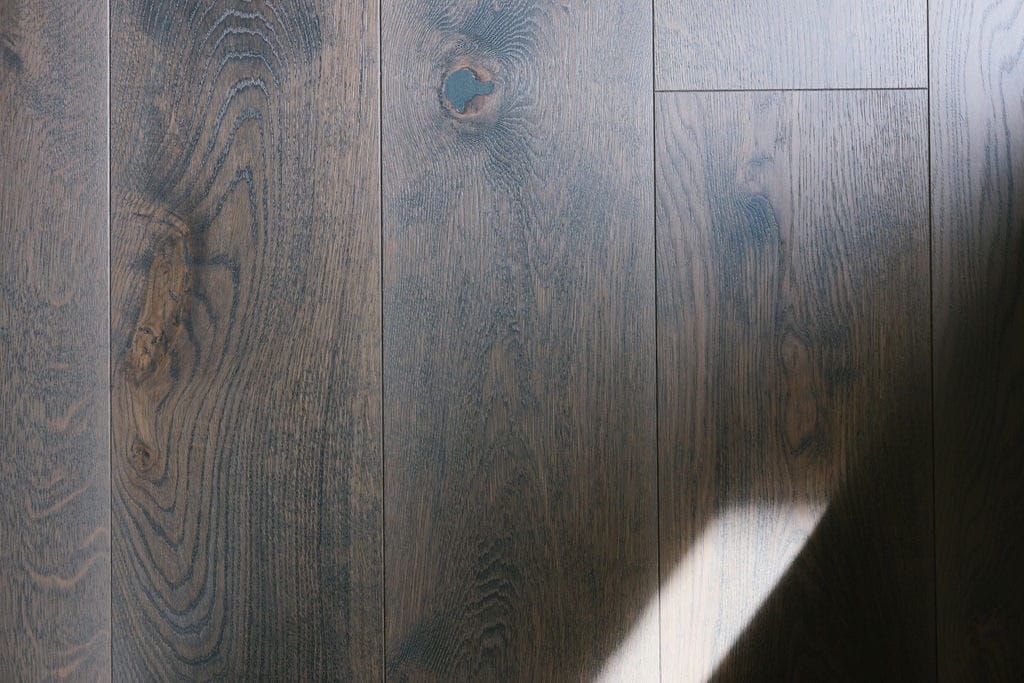
5. Colour Fading Due to UV Exposure
Sunlight can be harsh on timber floors, causing the colour to fade over time. Oiled timber floors are no exception. While the oil provides some protection against UV rays, prolonged exposure can still lead to discolouration. If you notice that your floor has lost its rich colour or that some areas are lighter than others, re-oiling can help restore some of its original hue and protect it from further sun damage. Tinted oils are also available and these can help rejuvenate the timber floor colour. If you plan to use tinted oils it can be best to employ the services of a professional (contact us for more information).

6. Frequency of Cleaning
If you find yourself cleaning your floors more often, it could be a sign that they need to be re-oiled. As the oil finish wears down, dirt and dust are more likely to adhere to the surface, making it harder to keep clean. A freshly oiled timber floor not only looks better but is also easier to maintain, as the oil helps to repel dust and debris.
7. The Age of Your Floor
Finally, consider the age of your oiled wood floor. If it’s been a few years since you last oiled it, even if there are no obvious signs of wear, it might be time for a maintenance coat. Regular re-oiling helps to maintain the floor’s protective layer and ensures that it continues to look its best for years to come.
How to Re-Oil Your Timber Floor
Once you’ve determined that it’s time to oil your floor, the next step is to follow the proper re-oiling process. Here’s a brief guide:
1.Clean the Floor Thoroughly: Start by vacuuming and mopping the floor to remove all dirt and debris. Allow it to dry completely.
2.Light Sanding (If Necessary): If your floor has deep scratches or is particularly rough, you may need to lightly sand it before applying the oil. Use fine-grit sandpaper and work in the direction of the wood grain.
3.Apply the Oil: Use a quality wood floor oil and apply it evenly using a brush, roller, or cloth. Work in sections to ensure even coverage.
4.Buff the Floor: After applying the oil, buff the floor with a soft cloth or a floor buffer to help the oil penetrate the wood and to achieve a smooth finish.
5.Allow to Dry: Let the oil dry completely before walking on the floor. This could take several hours, depending on the oil used.
6.Maintenance: To keep your oiled timber floor looking its best, regularly dust and clean it with products specifically designed for oiled wood floors. Re-oil as needed, typically every 1-2 years, depending on traffic and wear.
For a more in-depth careguide see our Oiled Floors Care Guide.
Interested in a DIY machine for cleaning and oiling wood floors? Take a look at FirstFloor’s Orbital Machine. It weighs just 13kg and is simple to operate.
Maintaining an oiled wood floor is an ongoing process, but the effort is well worth it. By keeping an eye out for signs like fading lustre, increased susceptibility to stains, and visible scratches, you can ensure that your oiled timber flooring remains beautiful and protected for many years. Regular re-oiling not only preserves the natural beauty of the wood but also enhances its durability, making it a valuable investment in your home’s interior.
By following these guidelines and regularly caring for your oiled wood floor, you can enjoy the timeless elegance and warmth of timber flooring for generations.