

Glue-Down Timber Flooring: How to Install It, Step by Step
The bonded method, done right on a prepared subfloor.
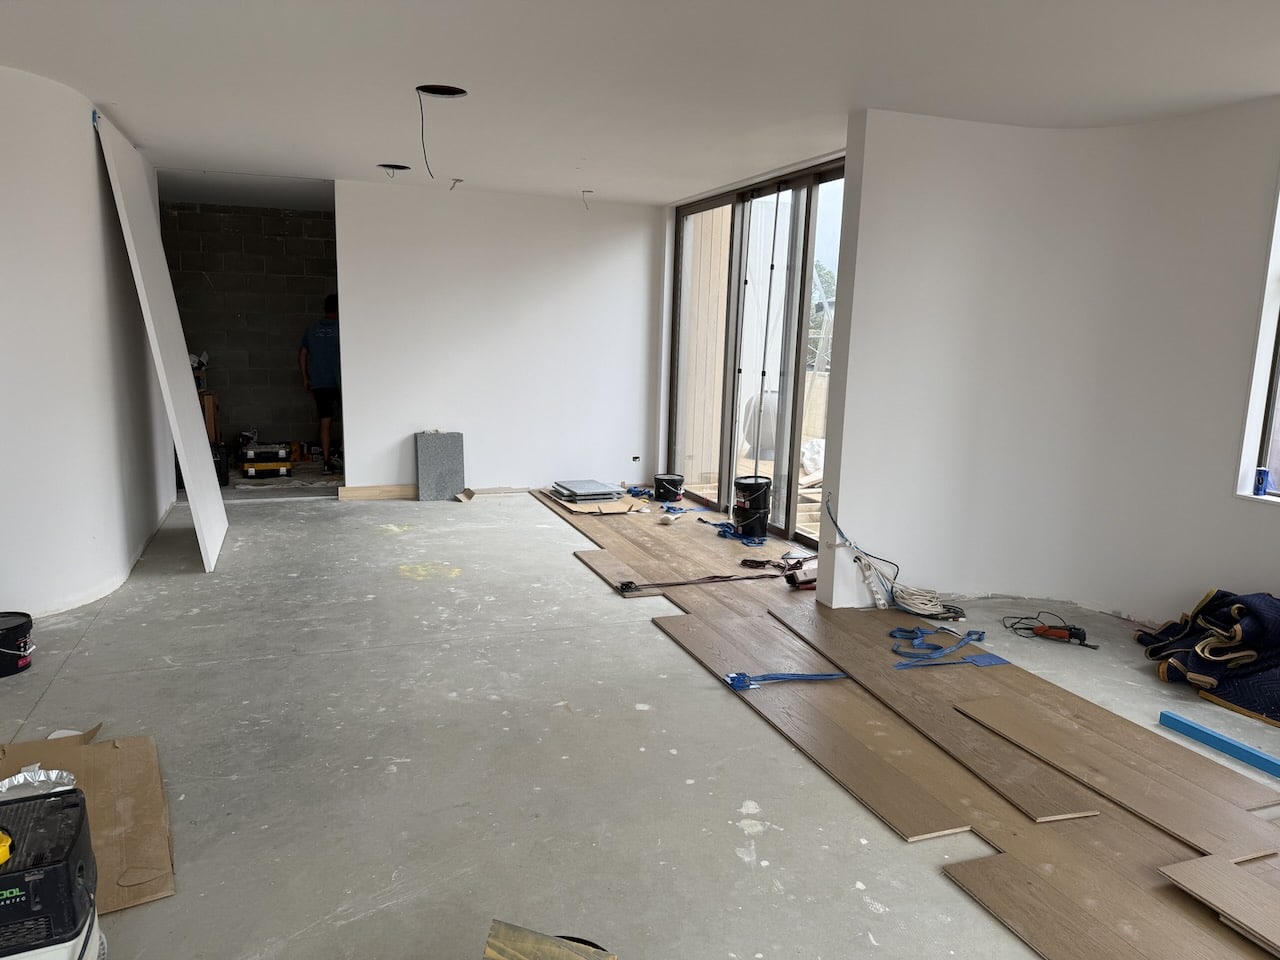
Glue-down timber flooring means bonding each engineered oak board straight to the subfloor with a flooring adhesive, for a firm floor underfoot. It suits concrete slabs, wide boards and herringbone. Get it right by preparing a flat, dry subfloor, testing for moisture, and following the adhesive maker’s system.
When glue-down is the right choice
There are two common ways to lay engineered timber. A floating floor clicks together over an underlay with no adhesive. A glue-down floor bonds each board to the subfloor, so installers often reach for it on concrete slabs, over underfloor heating, for wide or long boards, and for patterns like herringbone flooring where every piece needs to sit still.
Bonded down, the floor tends to feel firm and solid underfoot with less hollow sound. How a finished floor performs depends on the subfloor, the adhesive system and the install, so treat that as indicative rather than a guarantee. Not sure which way to go? Read our floating vs glue-down comparison, or the full timber flooring installation guide that covers every method.
Installing a glue-down timber floor
1. Prepare the subfloor
The subfloor must be flat, clean, dry and sound. Grind down high spots and fill low spots to the flatness tolerance in the adhesive and board instructions. Dust or debris stops the glue gripping.
2. Test for moisture
Moisture is the most common reason a glue-down floor fails. Test the subfloor before you lay anything, using the right method for the material. The adhesive is not a damp-proof layer, so if the reading is high, apply the correct primer or moisture system for that reading first, and follow the adhesive maker’s system.
3. Acclimatise the boards
Let the engineered timber sit in the room to settle to its temperature and humidity before laying. This reduces movement in the boards after installation.
4. Spread the adhesive
Use a flooring adhesive rated for engineered timber, such as Parabond 440, applied with the notched trowel the maker specifies. The trowel size sets how much glue transfers to the board. Only spread as much as you can cover before it skins over.
5. Lay the boards
Set each board into the wet adhesive, aligned and tight, and press it down for full contact. Leave an expansion gap around the perimeter and at fixed points so the floor can move with the seasons. For herringbone or chevron, work off your set-out lines.
6. Let it cure
Keep traffic and heavy furniture off the floor until the adhesive has cured to the maker’s stated time. Rushing this is how boards lift or shift.
Two ways to lay the same board
Glue-down
Bonded to the subfloor
Firm underfoot and well suited to concrete slabs, underfloor heating, wide boards and herringbone.
- Needs a flat, dry, tested subfloor
- Needs cure time before use
- Best for patterns and slabs
Floating
Clicks together over underlay
Not stuck down, so it is faster to lay, lower mess, and easier to lift or replace later.
- Quicker to install
- Needs a flatter subfloor than glue-down
- Good for straightforward layouts
Floating needs a click or lock profile, and most of our range is tongue and groove, which we lay glued down. For the full breakdown, see our floating vs glue-down comparison and the parent timber flooring installation guide.
Glue-down timber flooring: common questions
Do you glue the joints of engineered wood flooring?
Usually no. A click profile locks the boards together, and a tongue and groove lines them up while the adhesive holds each board, so in a full glue-down you bond the board to the subfloor, not board to board. Some older tongue-and-groove profiles take a bead of adhesive in the joint only if the manufacturer calls for it. Always follow the board maker’s instructions.
Can you glue timber flooring straight onto concrete?
Yes, once the slab is flat, clean and dry. Test the concrete for moisture first. If it reads high, apply the correct primer or moisture system for that reading before you glue, and follow the adhesive maker’s system. The adhesive on its own is not a damp-proof layer.
Should I choose glue-down or a floating floor?
Glue-down suits slabs, underfloor heating, wide boards and patterns like herringbone, and tends to feel firm underfoot. Floating is faster to lay and easy to lift later. Our floating vs glue-down comparison walks through both so you can match the method to your subfloor.
What adhesive does Vienna Woods use for glue-down floors?
We carry Parabond 440, a flooring adhesive for engineered timber. It is not a standalone damp barrier, so on a concrete slab you test the moisture and apply the matching DL primer system for that reading first. The product page carries the technical data sheet.
How long before I can walk on a glued-down floor?
Keep off it until the adhesive has cured to the manufacturer’s stated time. Cure times vary by product and site conditions, so check the adhesive data sheet before moving furniture back in.
More questions about laying timber? See our frequently asked questions.
Next steps
Full installation guide
Every method, subfloor and prep basic for engineered timber in one place.
Read the installation guide →Herringbone flooring
The pattern glue-down was made for. See the herringbone range.
Explore herringbone →Care and cleaning
Keep a finished floor looking its best after the install.
Maintenance guide →See the oak before you glue it down
Order free samples of our engineered European oak, or send us your plans for a quote.